Ticket holders
On this page:
Add ticket holders
Who is a ticket holder?
When you add invitees to your invitation list for an event, you can determine if you would like to link an invitee, or several invitees at once, to a ticket holder. A ticket holder has to be a user in the system of InviteDesk. Most of our clients link their colleague who is closest with that certain invitee. To link a ticket holder, you need to have a column in your Excel with the mail address of the ticket holder to link this to an invitee.
That way you can make the communication with your invitees very personal and familiar. You can adjust your sender options for an event and make use of the variables so that the invitee gets the information from the person he or she knows the best. You could for example adjust the sender options for an event to send in the name of a ticket holder if available (see the Communication setup section).
A ticket holder is a user in the system as stated above. As an admin, you can determine what these users can do — for example, adding people to the invitation list or making a change to the registration details of an invitee (see "Create a new user right profile" on the Users & Teams page).
Add ticket holders for your event
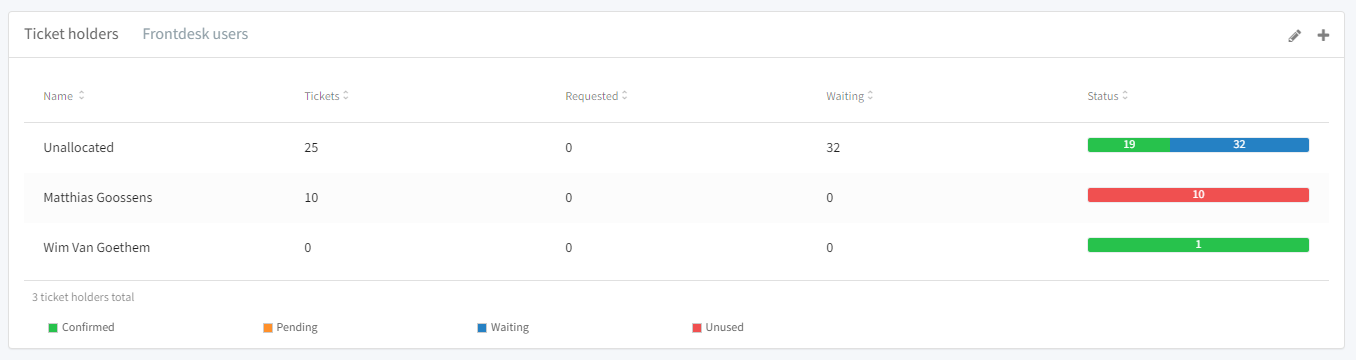
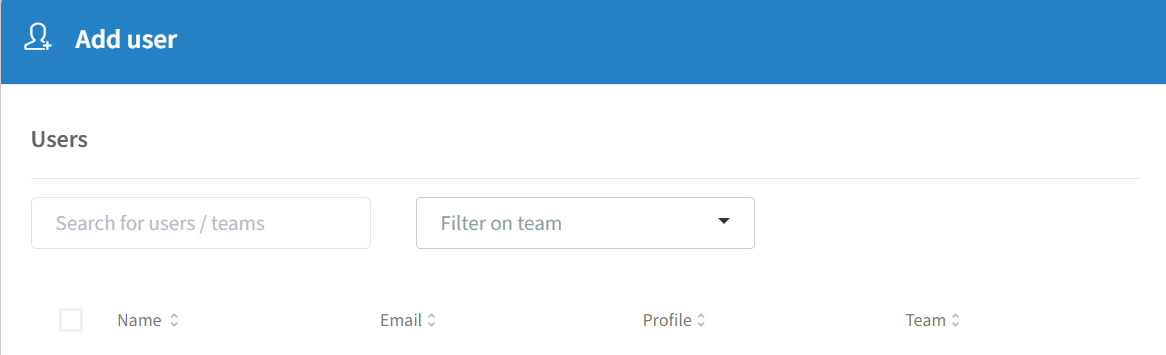
In the ticket holders section of your event, you can add ticket holders by clicking on the "+" sign. Note that a ticket holder has to be an existing user in InviteDesk.
When doing so you can search for specific users or filter on a team if needed:
You can also distribute ticket quotas to your ticket holders (see "Distribute ticket quota" below).
How to assign ticket holders to your guests
You can assign ticket holders to your guests when uploading your guest lists in InviteDesk. There are two main ways to do this:
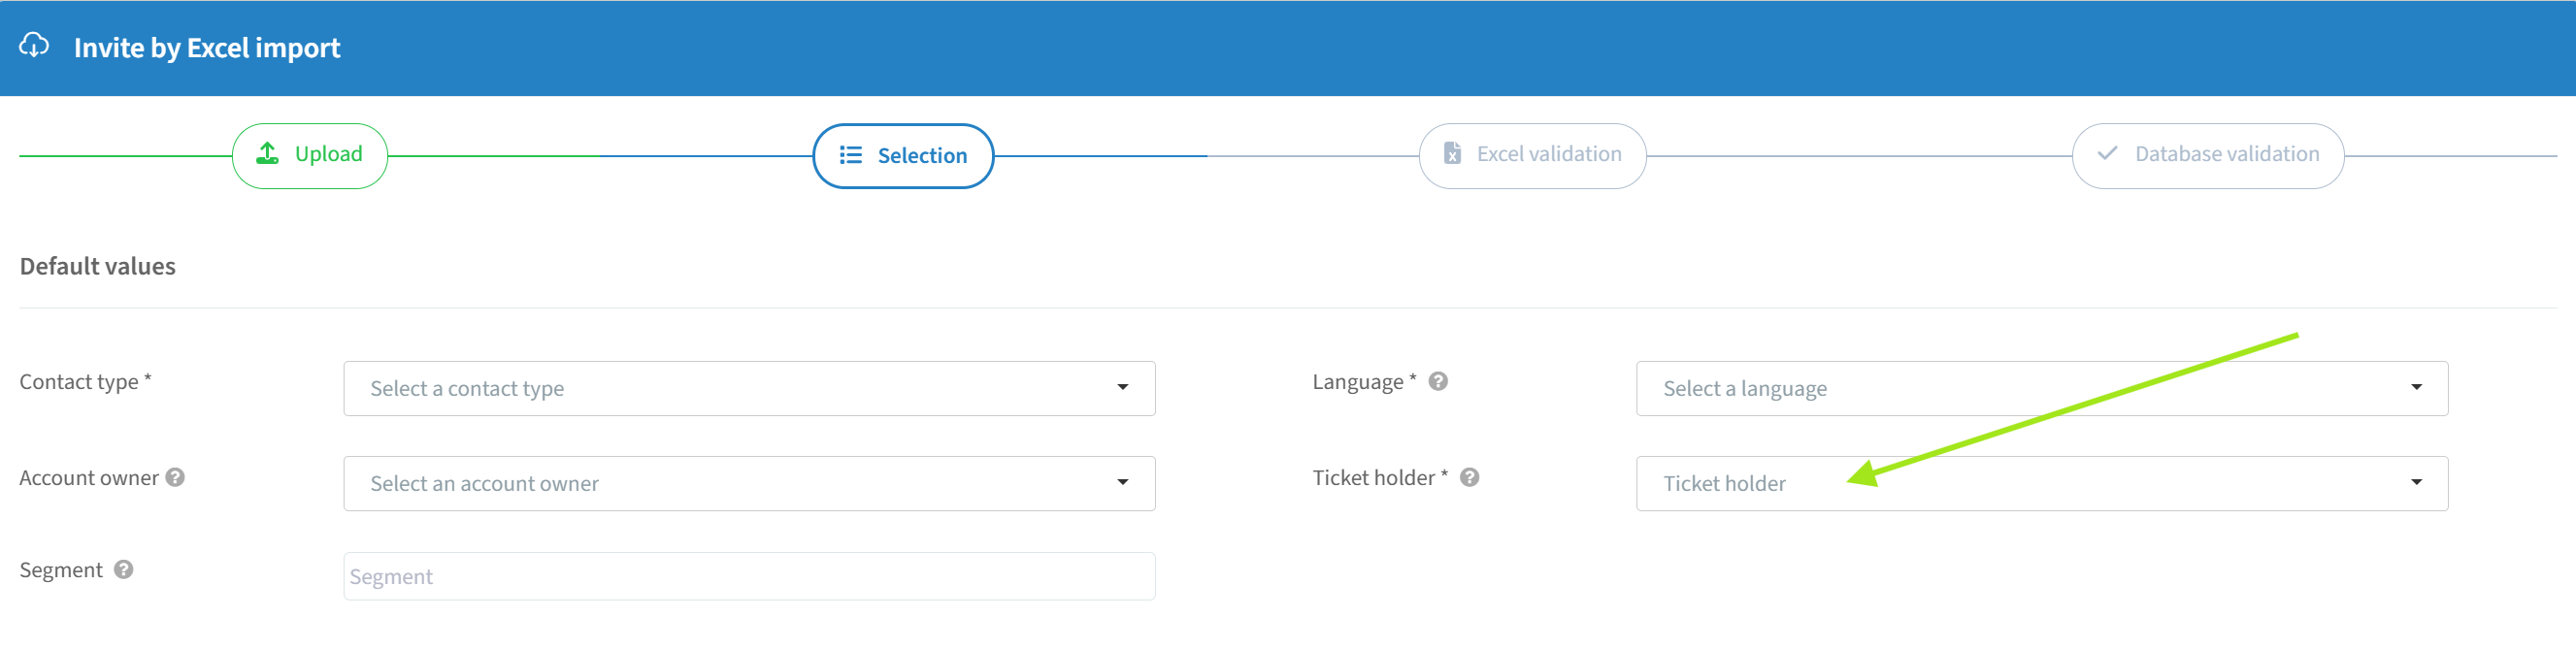
1. Assign a ticket holder per file
If your guests are stored in separate Excel files, you can assign one ticket holder to all guests in a specific file. When you upload the file, an option will appear to select the ticket holder for that file.
2. Assign a ticket holder per guest
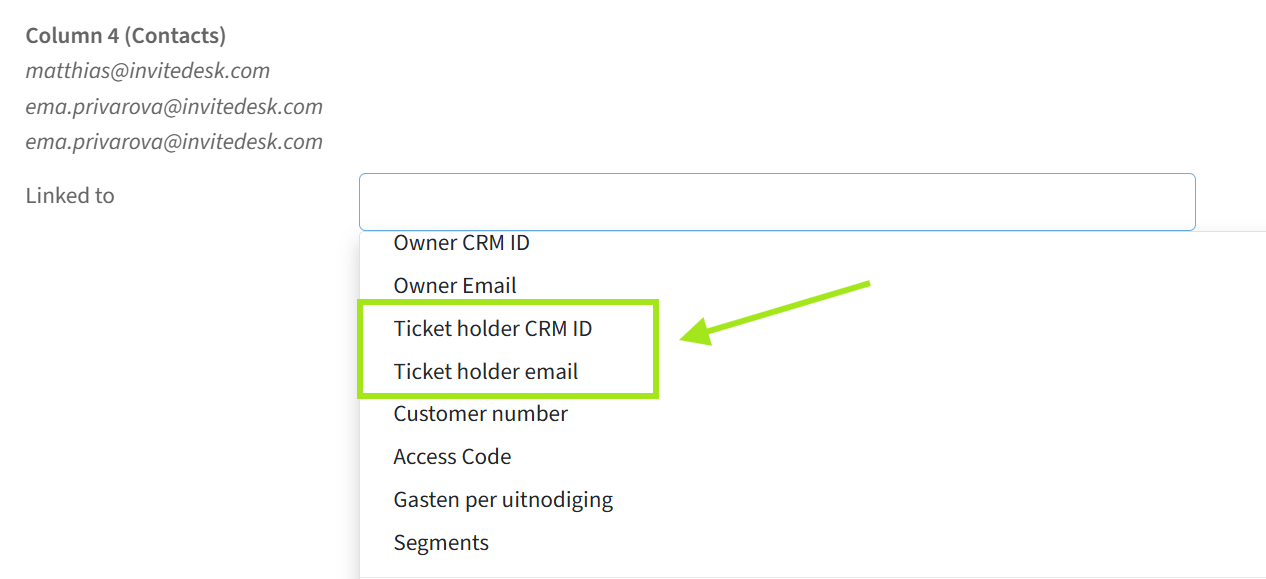
If you store ticket holder information in an extra column in your Excel file, you can import it directly. You can use either the Ticketholder CRM ID (see the Integrations page) or the email address of the ticket holder. During the upload, InviteDesk will match each guest to the correct ticket holder based on this information.
Distribute ticket quota
When adding users as ticket holders (see "Add ticket holders" above): after clicking on the "+" sign to add users as ticket holders, you can assign ticket quotas to the selected user by activating the slider in the following window:

The system will tell you automatically how many tickets there are available and you can divide them between the selected users if needed.
When editing the ticket holders: you can also edit the ticket holders by clicking on the pencil sign on the right-hand side. Below an example of the window that will be shown:
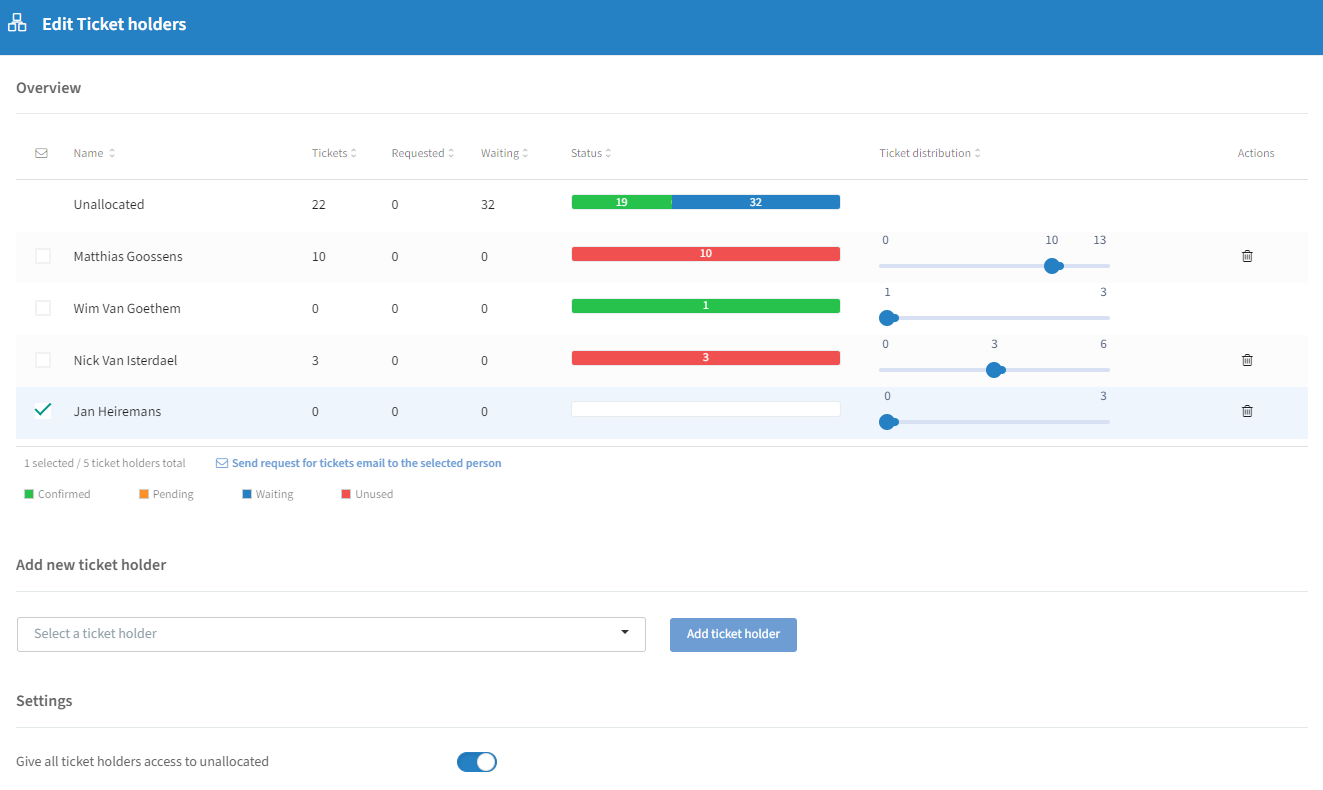
You will have the following possibilities:
Use the sliders to distribute ticket quota. This works in a clever way as you can never distribute more tickets than the amount that is available. You can also move the sliders with the arrows on your keyboard.
Select a specific ticket holder and click on save at the bottom. This person will receive a mail with a request of how many tickets he or she would like. The amount of the requested tickets will be shown in the column "Requested".
You will also have the possibility to add new ticket holders in this window. The list of users that will be available also depends on user right profiles (see "Create a new user right profile" on the Users & Teams page).
You can also activate the slider under settings to give all ticket holders access to unallocated tickets.
Link a ticketholder to the registration page
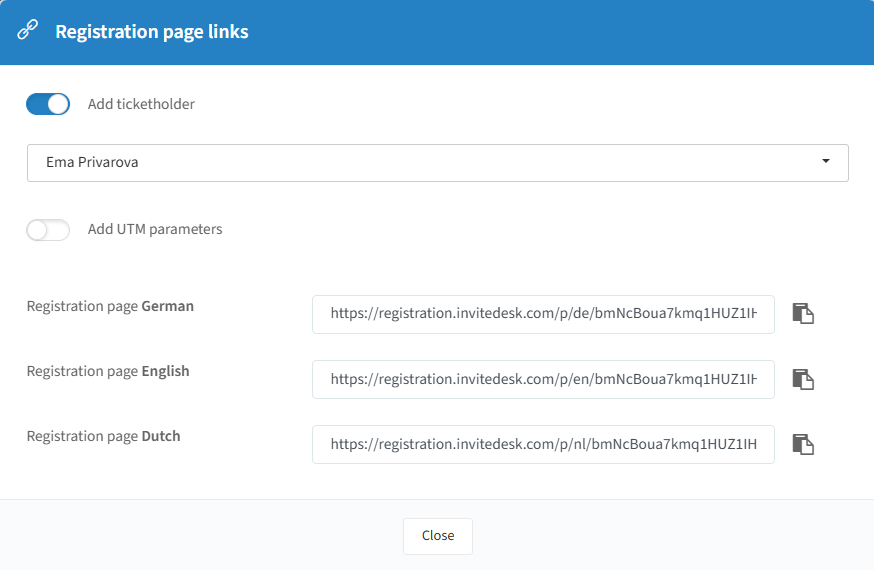
You can create separate links to the public registration page, each tied to a different ticketholder. This is also useful for example when you are not inviting guests personally but need distinct capacity limits for different guest groups.
Enable the Add ticketholder slider, select the ticketholder to link, then copy the registration link shown below.