
Create an event
On this page:
Event data & information
In just a few steps, you create your own event. If you want to create an event similar to a past one, you can easily clone an existing event. You can also make your event a paid event (see "Paid event" below).
New Event
At the top right of the event overview (the first page you see when you log in), click the "+" sign. If you already have an active event, you can edit it via the pencil icon in the upper right corner of the 'Event details' section.
A window guides you through 4 steps: 1. Data, 2. Information, 3. Date and location (Live or Online), 4. Communication.
Step 1: Data
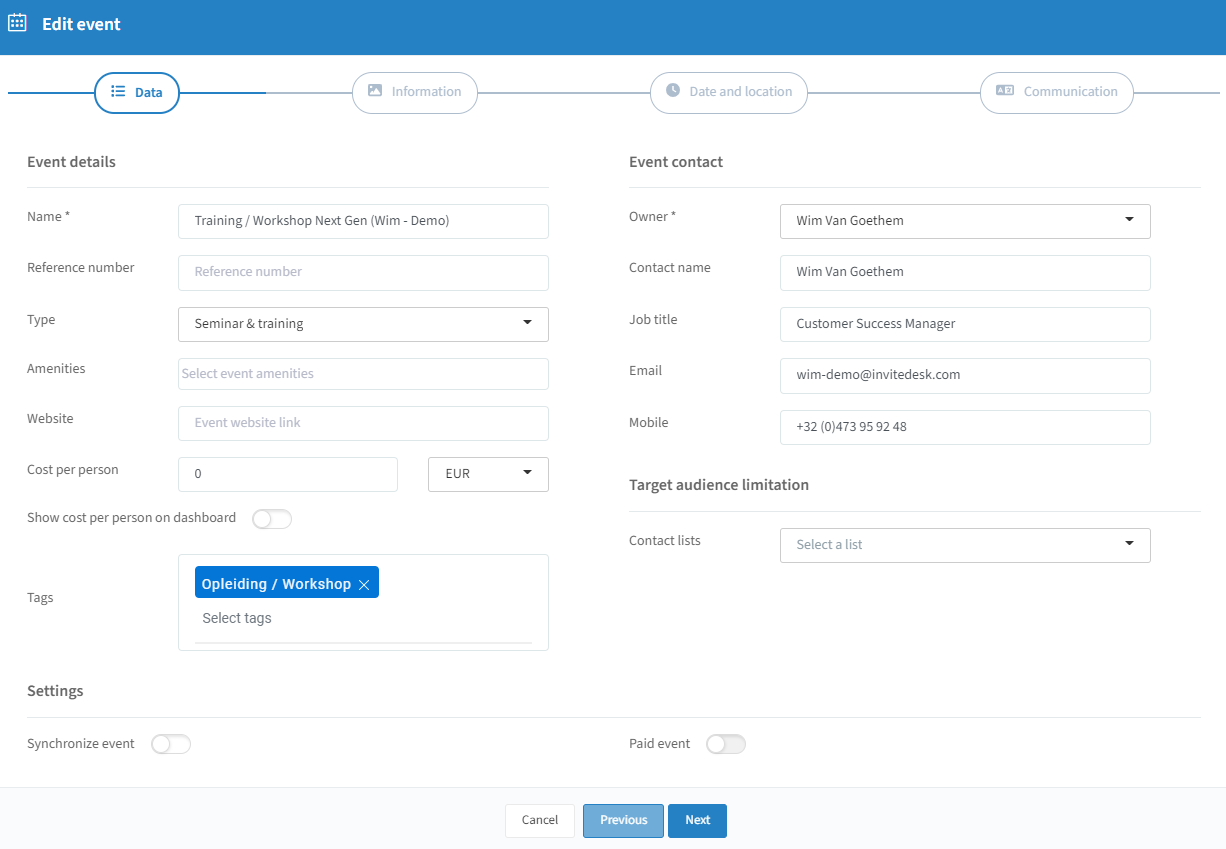
Event details: except for the event name, this data is for internal purposes. "Amenities" gives a visual hint in the event overview (app and desktop). "Website" can link to additional info. "Cost per person" is for reporting, and can optionally show on the dashboard. You can also add Tags.
Event Contact: the event owner manages the event. Contact name, job title, email and mobile are shown in communication to invitees.
Target audience limitation: restrict the target group for a specific event — only possible with public lists.
Event synchronisation: if you have a CRM/marketing automation integration, decide here whether to sync the event.
Step 2: Information
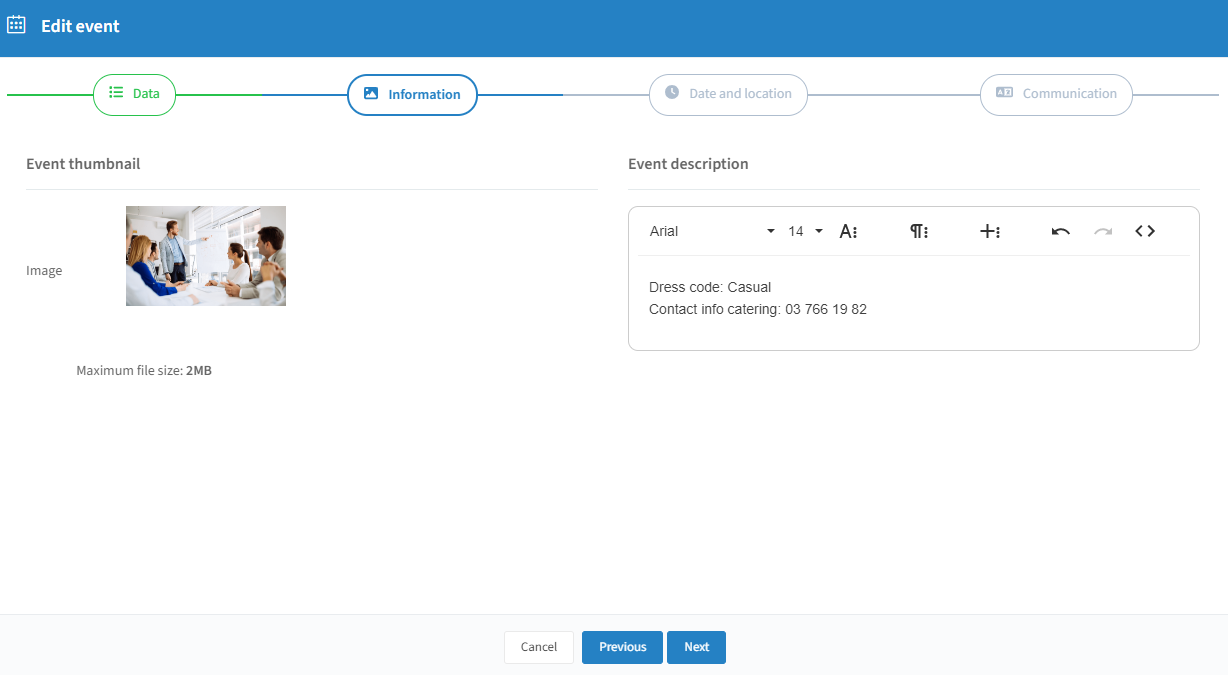
The image uploaded here shows in the event overview, and on Public Pages if used. The event description shares relevant info with users who have access to the event.
Step 3: Date & Location
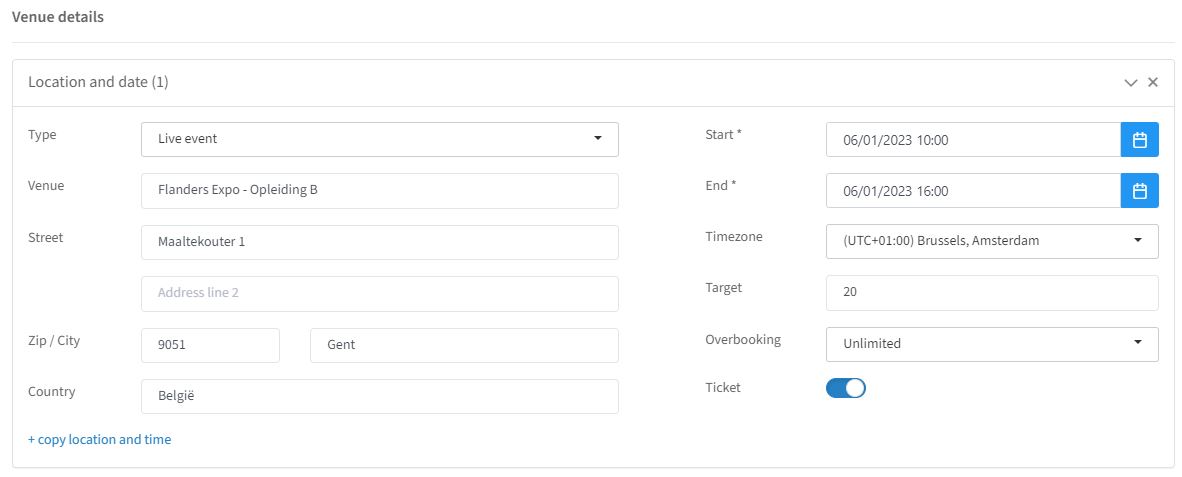
The "venue" name shows in communication templates (translatable for multilingual events).
The "address" is used in event communication and auto-generates a map.
"Start and end date" feeds the "Add to calendar" feature.
"Target" is the number of guests you want to invite; combined with "Overbooking = none" it becomes a maximum.
"Overbooking" — "none" means registrations can never exceed places; "unlimited" allows unlimited registrations.
Activating "Ticket" auto-creates a QR ticket for the venue.
You can add multiple locations/venues; enable "Multivenue event" (platinum feature) to let guests pick which to join (see "Multi-venue setup" below).
Venue - Online:
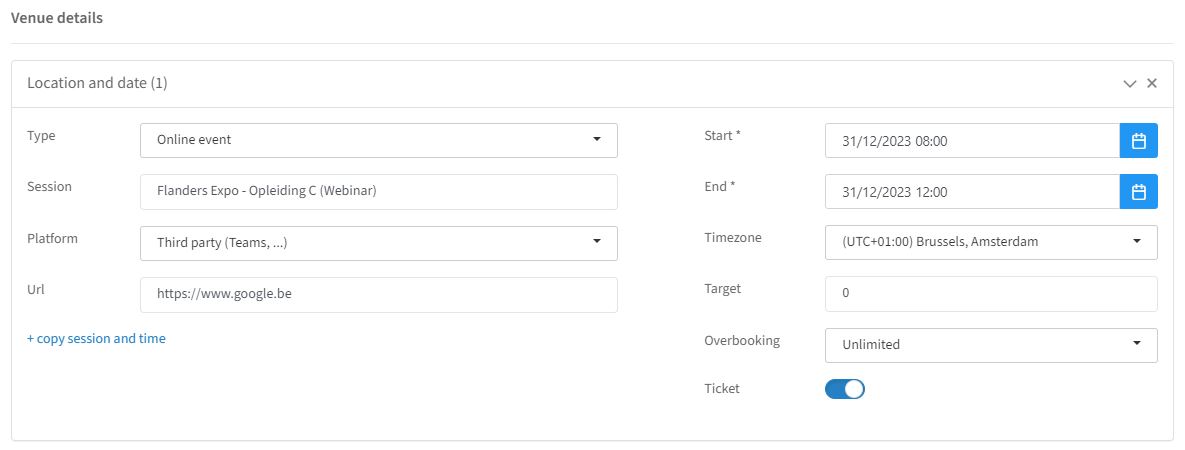
Instead of address fields, add a webinar URL. Guests see a "Join" button leading to the InviteDesk page; the link becomes accessible 15 minutes before start. Clicking "Join" automatically changes status of the guest to checked in on the attendee list.
"Session" name shows in communication templates (translatable).
"Platform": InviteDesk Present & Connect, Zoom, or 3rd party.
"URL" is used in confirmation and pre-event mail.
Same Target/Overbooking/Ticket/Multi-venue options as Live events apply.
Step 4: Communication
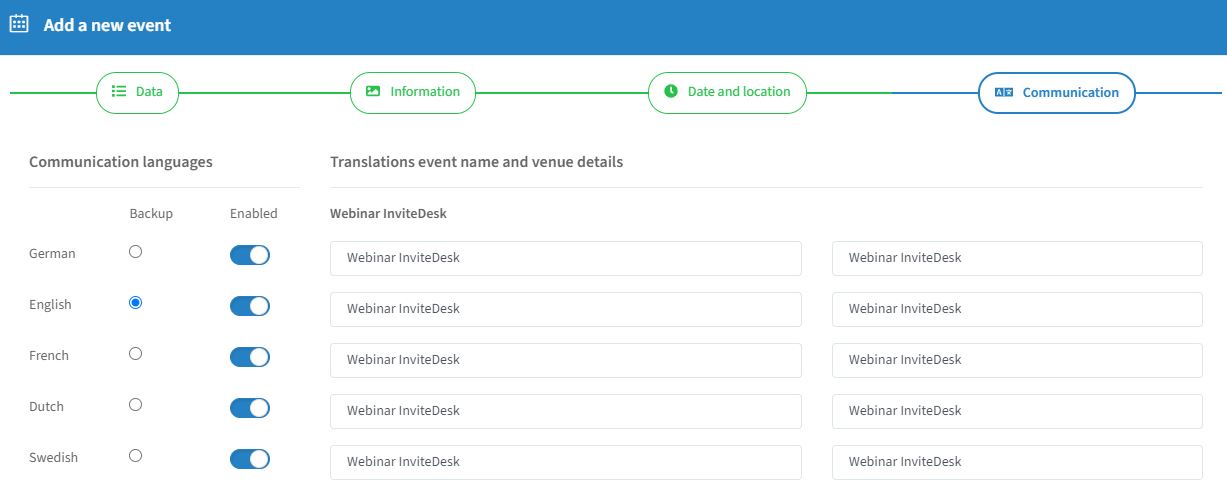
With multiple venues, a dropdown in the top right lets you select and translate per venue.
Multi-venue setup
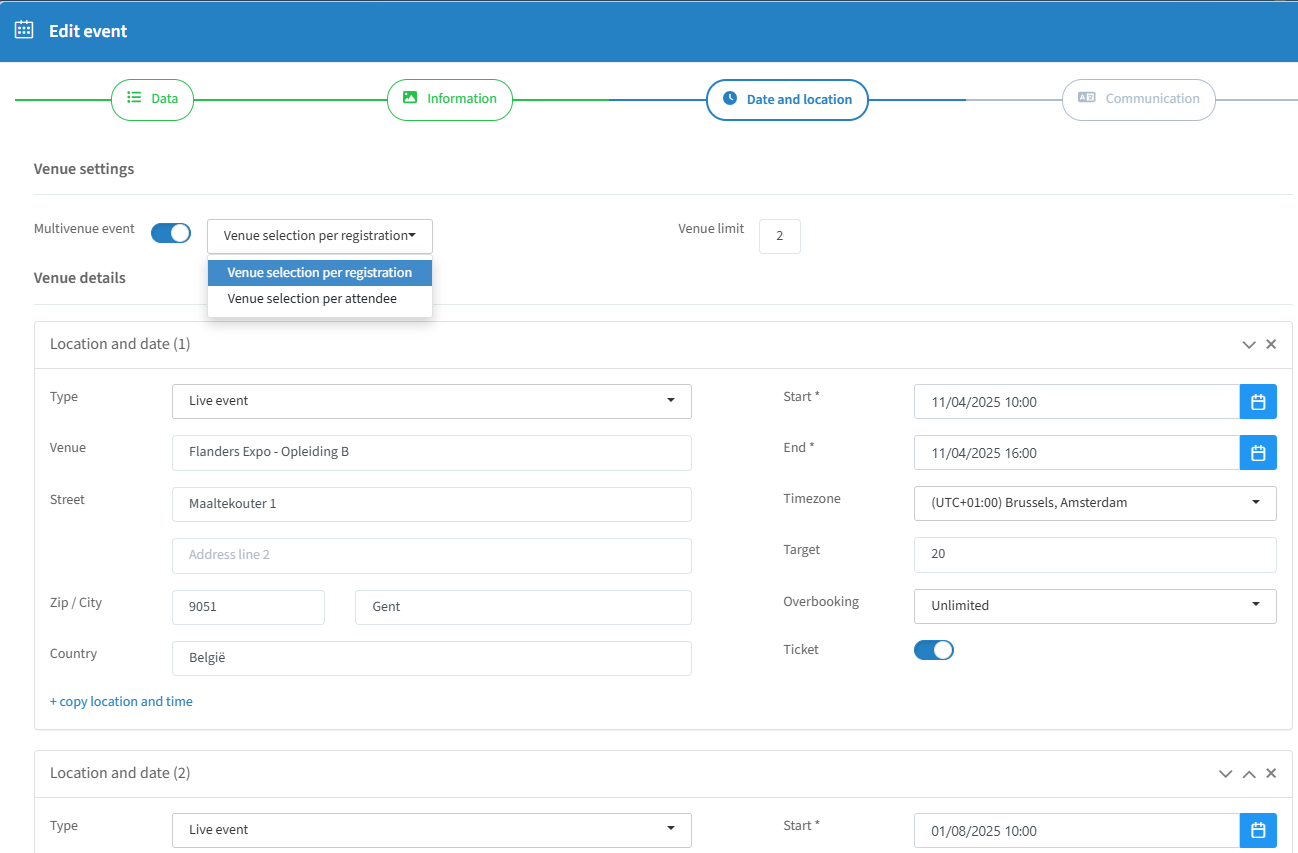
Multi-venue (platinum feature)
Choose whether venue selection applies to all attendees per registration, or can differ per attendee:
Venue selection per registration: the main guest and additional guests all attend the same venue(s); the main guest chooses for everyone.
Venue selection per attendee: the main guest can select different venues for themselves and each additional guest separately.
You can also limit how many different venues can be selected — e.g. a limit of '2' allows a maximum of 2 venues per registration or attendee.
Change the order of venues using the arrows next to the event.
Paid event setup
This article shows how to create a paid event, building on "Event data & information" above.
Step 1: Activate a Stripe Integration or a Paydesk
Step 2: Turn on the Paid Event slider and specify payment provider in the Data section of Event Details
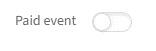
To create a paid event you have to turn the Paid event slider on upon creation of the event, you can not turn it on or off once your event is created.
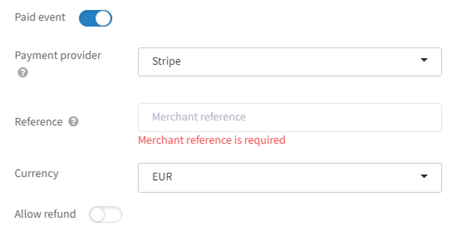
Payment provider: configured in Paydesk or the Integration page; only InviteDesk-supported providers can be selected.
Reference: the merchant reference used to identify which event a payment belongs to.
Currency: CAD, CHF, EUR, GBP, NOK, SEK, or USD.
Allow refund: lets guests get a refund when cancelling their registration/payment.
Step 3: Set prices

You can set different prices for Extra guests or Internal and External guests. If you wish to create different prices based on other criteria you can use Promotions for this.
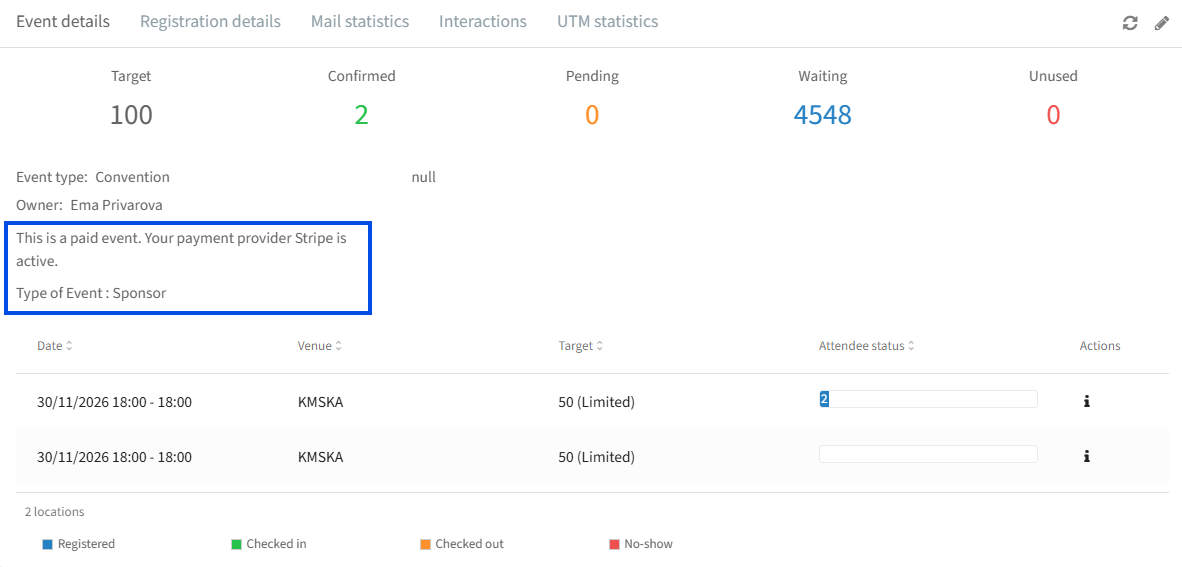
Once you create a new event, the status of your paid event will be automatically shown in the event details.
Step 4: Invitee payment experience
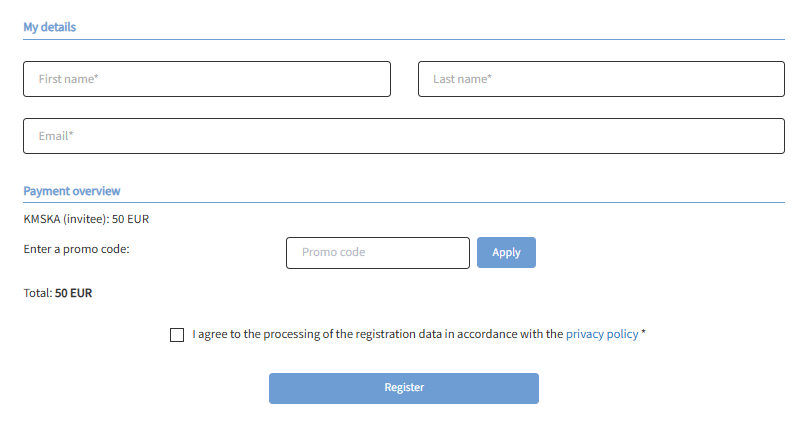
The Invitee First has to fill in the registration details and then click on Register, depending on if vouchers are issued for the event there will be a voucher field appealing in the payment overview.
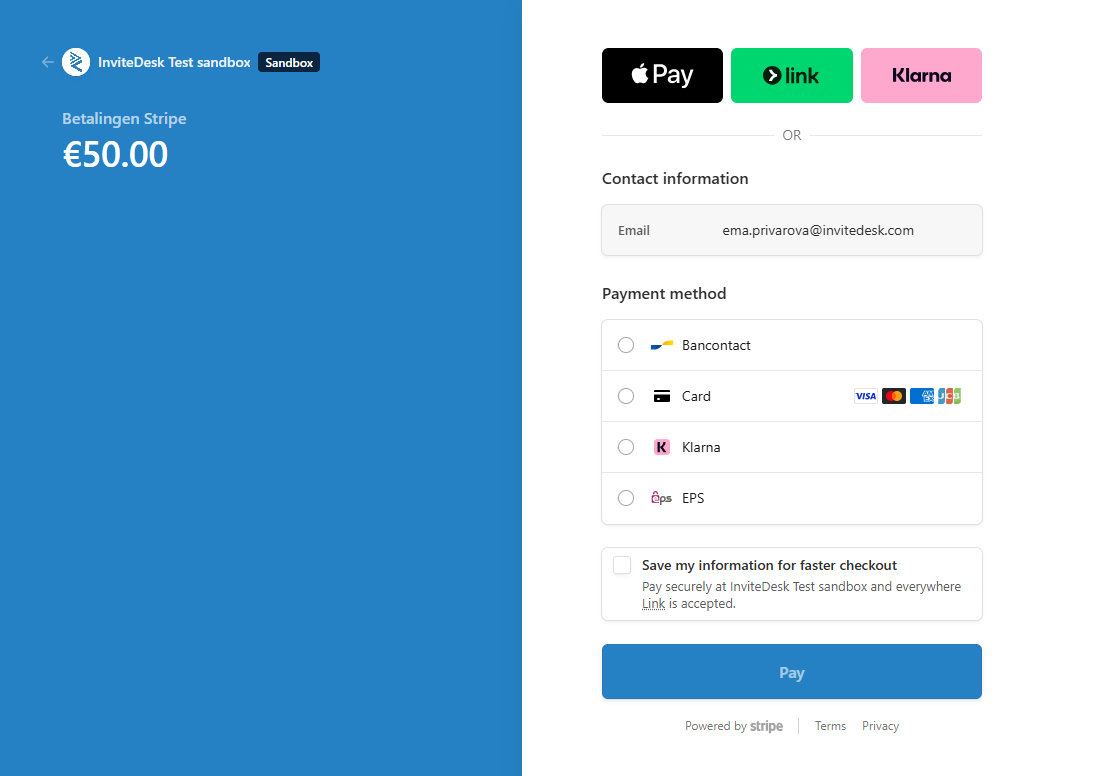
After clicking on register a payment module will be shown (On the screenshot you can see stripe):
Step 5: Admin payment experience
You can check the payment overview by clicking on the “i” symbol next to the guests name in the Invitation list.
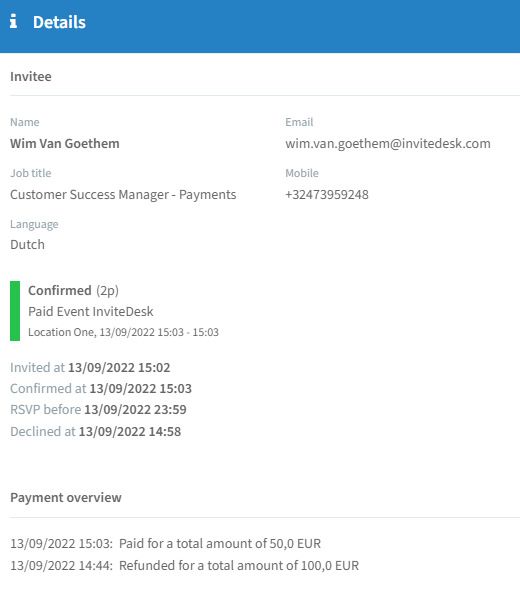
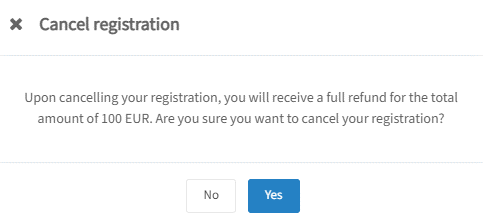
Please note, that you can't manually confirm someone on the dashboard of a paid event because it's linked to payment. You can cancel a registration though (triggering a refund if enabled).
Tip: To register someone manually while skipping payment, create a 100% discount Promotion and use it on the registration page.