
Event website
On this page:
The page link
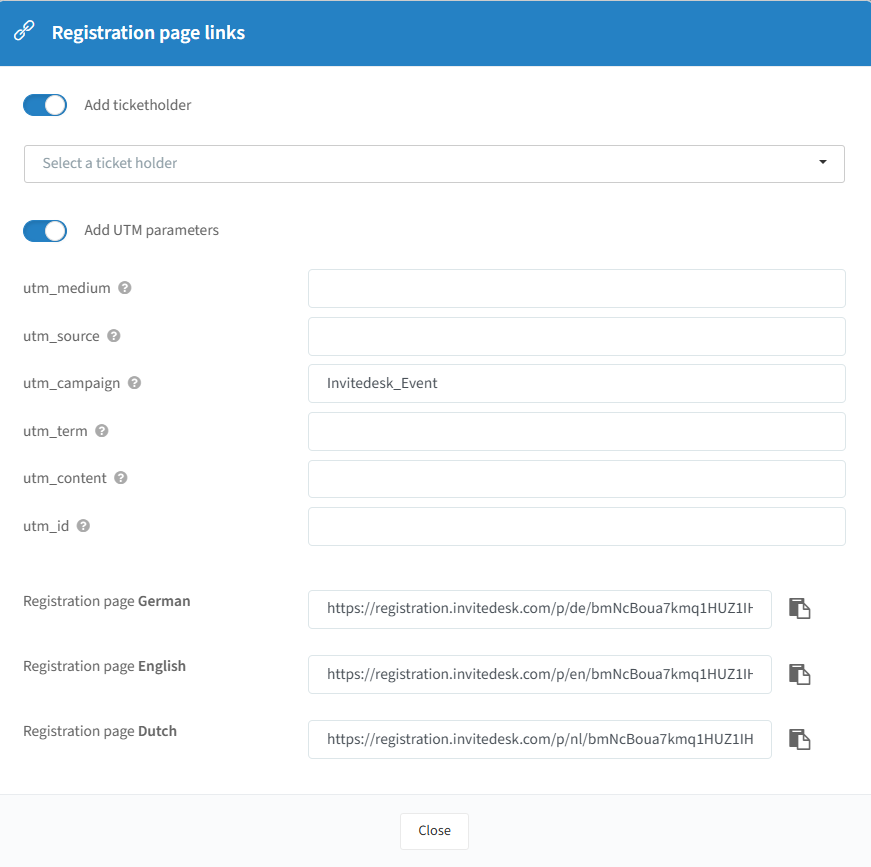
Click the link icon  next to the plus icon to personalise a link by linking it to a ticket holder or adding UTM parameters for tracking.
The process is the same for both functions: enter the ticket holder and/or required parameters, then copy the automatically generated link. If you change the ticket holder or UTM values, you can copy another link, the link updates automatically so ensure you save each copied link before making further changes.
You can copy the links below by clicking the copy icon. Each language has its own link, and you can switch languages on the registration page.
Adding a page to your event website
After you have created your event, you can build your event website in just a few clicks. Alongside the Registration page, it can consist of up to 7 different page types in total, which you set up by clicking the "+" sign in the top right corner.
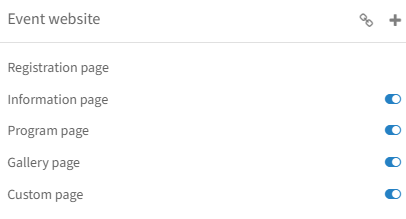
The creation of each additional page follows the same logic:
You can switch between the different languages by clicking on the dropdown menu.
You can give your additional page a different title.
You can add content to your page by adding content in the editor.
With the sliders above, you can deactivate the pages if you decide you won't be using them after all.
The Workshop page, Speakers page and Gallery page are paid features — contact InviteDesk for details.
Tips:
You can also add the pages as a button in your communication.
If you set the registration open from the present day, you can immediately test how the registration page looks after the event has been published — click the chain icon to go to your registration page.
Registration page
The registration page is the only mandatory page in Invitedesk and it also is the landing page of the Event website. When you click on it, you will see a live preview on the left. On the right, you will find the text and question editor, along with settings.
Language selection: switch languages at the top; translate all texts if communicating multilingually.
Page design: The registration page design is consistent across all other tabs, such as the program and information page.
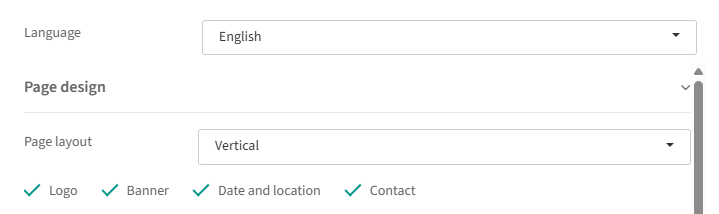
Registration page text: the Title sets the browser tab label; text fields add extra info/instructions.
Registration page fields: build your personalized form, see Registration page questions below.
Timing and settings: choose a fixed closing date, or close registration a set number of days before the event start (useful for multi-date/venue events to plan logistics like catering).
Guests per invitation:
Default guests per invitation: how many can register by default (e.g. 2 = invitee + 1 guest). Use "Unlimited" if group size doesn't matter.
Maximum guests per invitation: the ceiling a ticket holder can raise to for specific invitees (e.g. default 2, max 4). For more information go to this Article on Tips & Videos#How-can-I-change-the-maximum-number-of-guests-allowed-per-registration-for-certain-guests%3F
Tips: keep default and maximum equal unless you want extra flexibility. To test, set registration open from today and click the chain icon to preview.
Registration page questions
After you have created your event and your registration page, you can decide what you want to ask on the registration page which the invitees need to fill in (see "Event data & information" on the Create an event page, and "Registration page" above).
With the "Registration page fields", you build your fully personalized registration form:
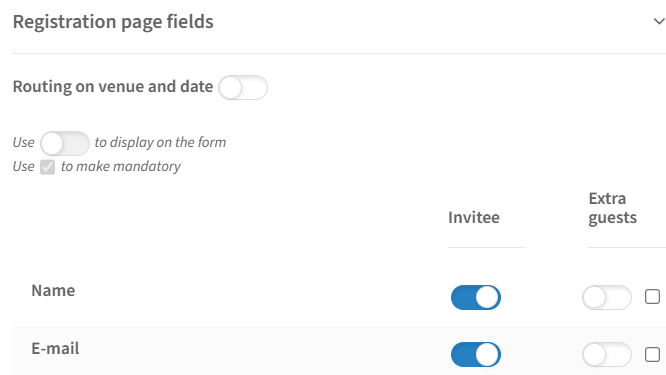
With the sliders you decide if you want to show the question or not. You can choose to show a question for the main guest (invitee) only, for the extra guests only, or for both.
One exception: if you turn off the slider for Name & E-mail of the (Main) Invitee, this will not hide the Name & E-mail field but lock it, so it cannot be changed by your invitees.
With the checkbox next to the sliders, you make a question mandatory — separately for the main invitee and for extra guests.
You can easily add questions. The fixed questions (e.g. telephone number, company name) are already prefilled for your invitee when you invite them by e-mail.
You can add your own questions. You have several possibilities:
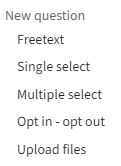
You can also add Custom fields as a question (see the Custom contact fields page).
You can add a Textblock if you would like to explain something between specific questions.
It is possible to route your questions individually and to route your questions on venue and date. The venue/date routing option is available at the top if your event has more than 1 venue. In the example below, the fourth question only appears if an invitee answered "Yes" to the third question:
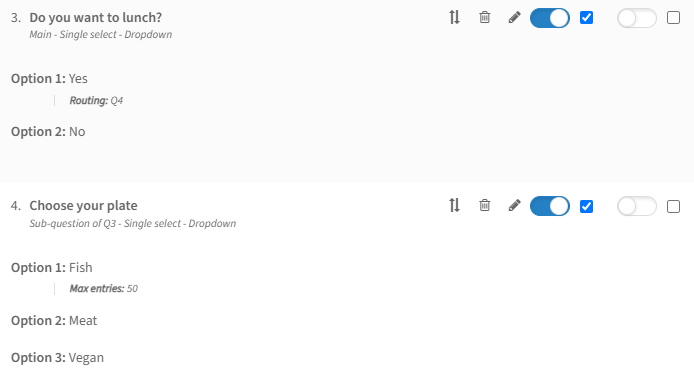
If an invitee answers "No" to the third question, they will not see the fourth question. With more than 1 venue, an additional option appears — "Routing on venue and date":
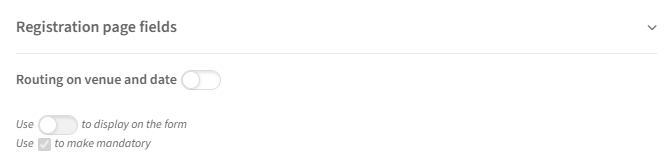
Per venue, you can then decide which questions will be visible:
We also offer extra possibilities to tailor the questions. Next to your questions you will see the following symbols:

With the arrows, you can change the order of your questions.
With the trashcan, you can delete the specific question.
With the pencil, you can make extra changes to your question:
Max entries: define a maximum number of responses in total per answer — very handy if e.g. you have breakout sessions with limited capacity.
Timeslots: add timeslots to your question. You can pick whether the chosen timeslot overwrites the calendar file: Default file (timeslot doesn't overwrite the calendar file), Chosen timeslot (it does), or Both (keep the timeslot and the event time as 2 calendar files).
Display style: change how the options of your question are visualized — as "Buttons" or as a "Dropdown".
Ticket access rights: automatically create a QR ticket for this answer (see "Ticket (Venue or specific access right)" in the Tickets section).
Tips:
If you are creating a complex registration page, save your progress and test it yourself by going to your own registration page. You can always come back to make small adjustments until you are satisfied.
You can add up to 500 questions on your registration page and a question can contain up to 50 options.
Information page
The Information page adds an Information tab to your event website, where you can share practical details about your event.
It per defaut includes a text field where you can put your Event Information.
Program page
The Program page adds a Program tab to your event website.
It per defaut includes a text field where you can put your Event Program.
Workshop page
Premium feature. Contact InviteDesk for details.
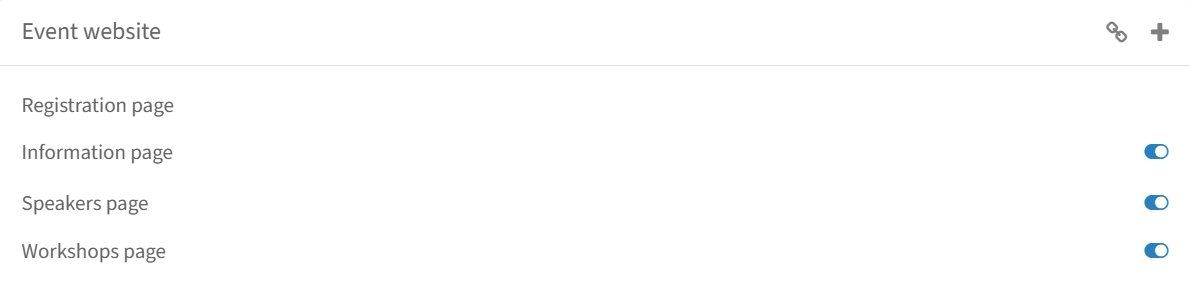
On the Workshops page, you can provide an overview of all the workshops taking place at your event. This page will appear as a Workshops tab on your event website.
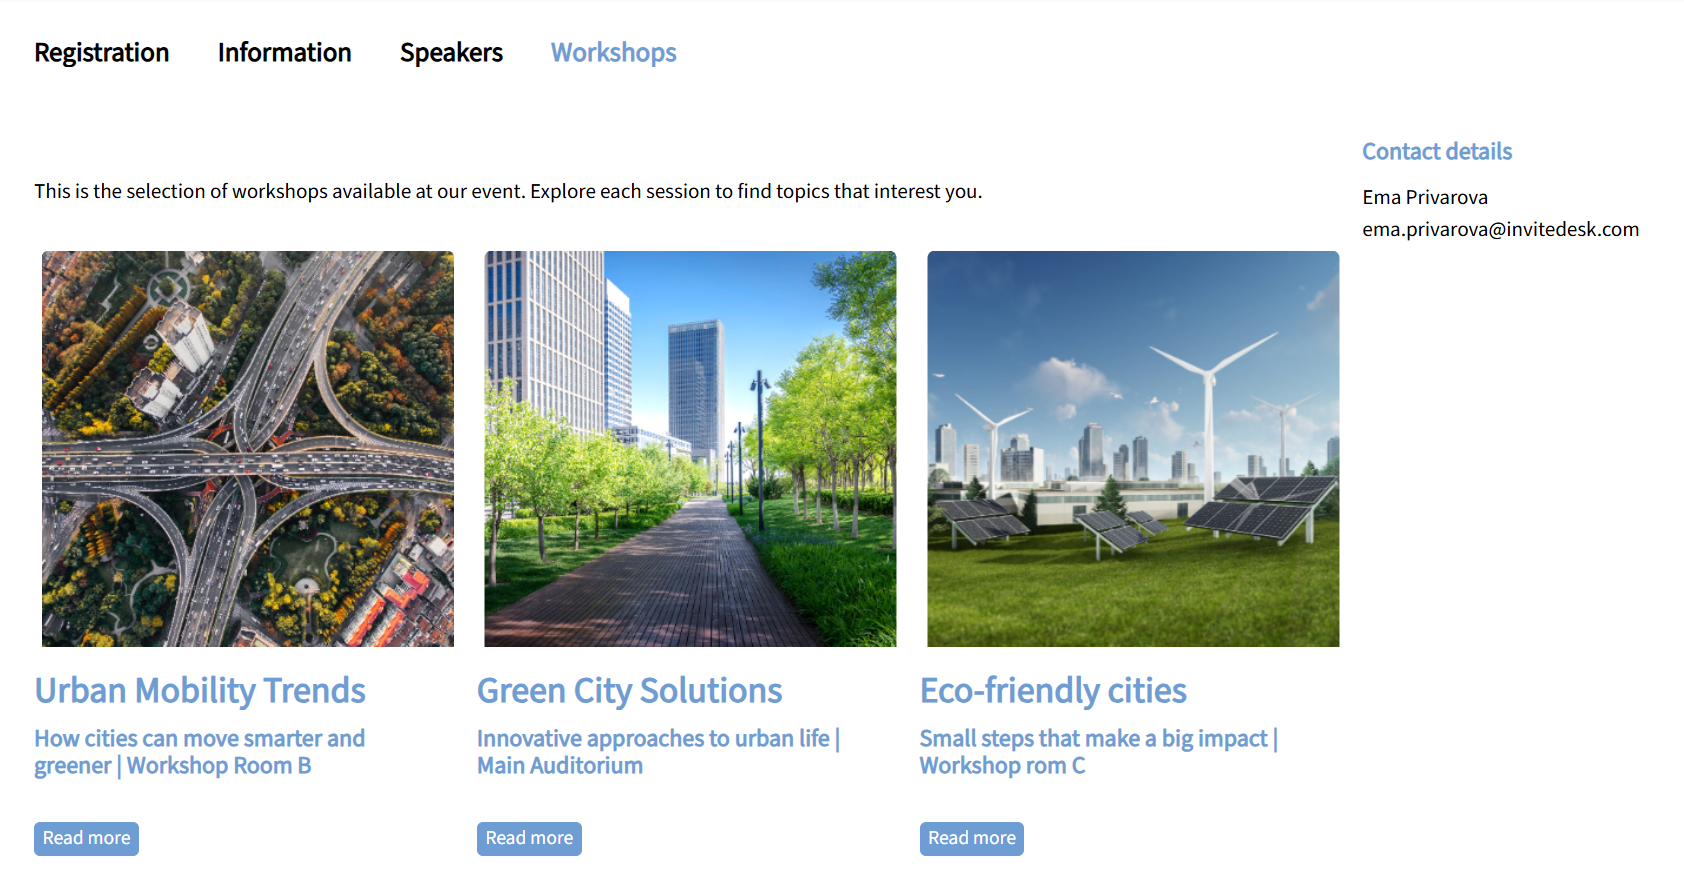
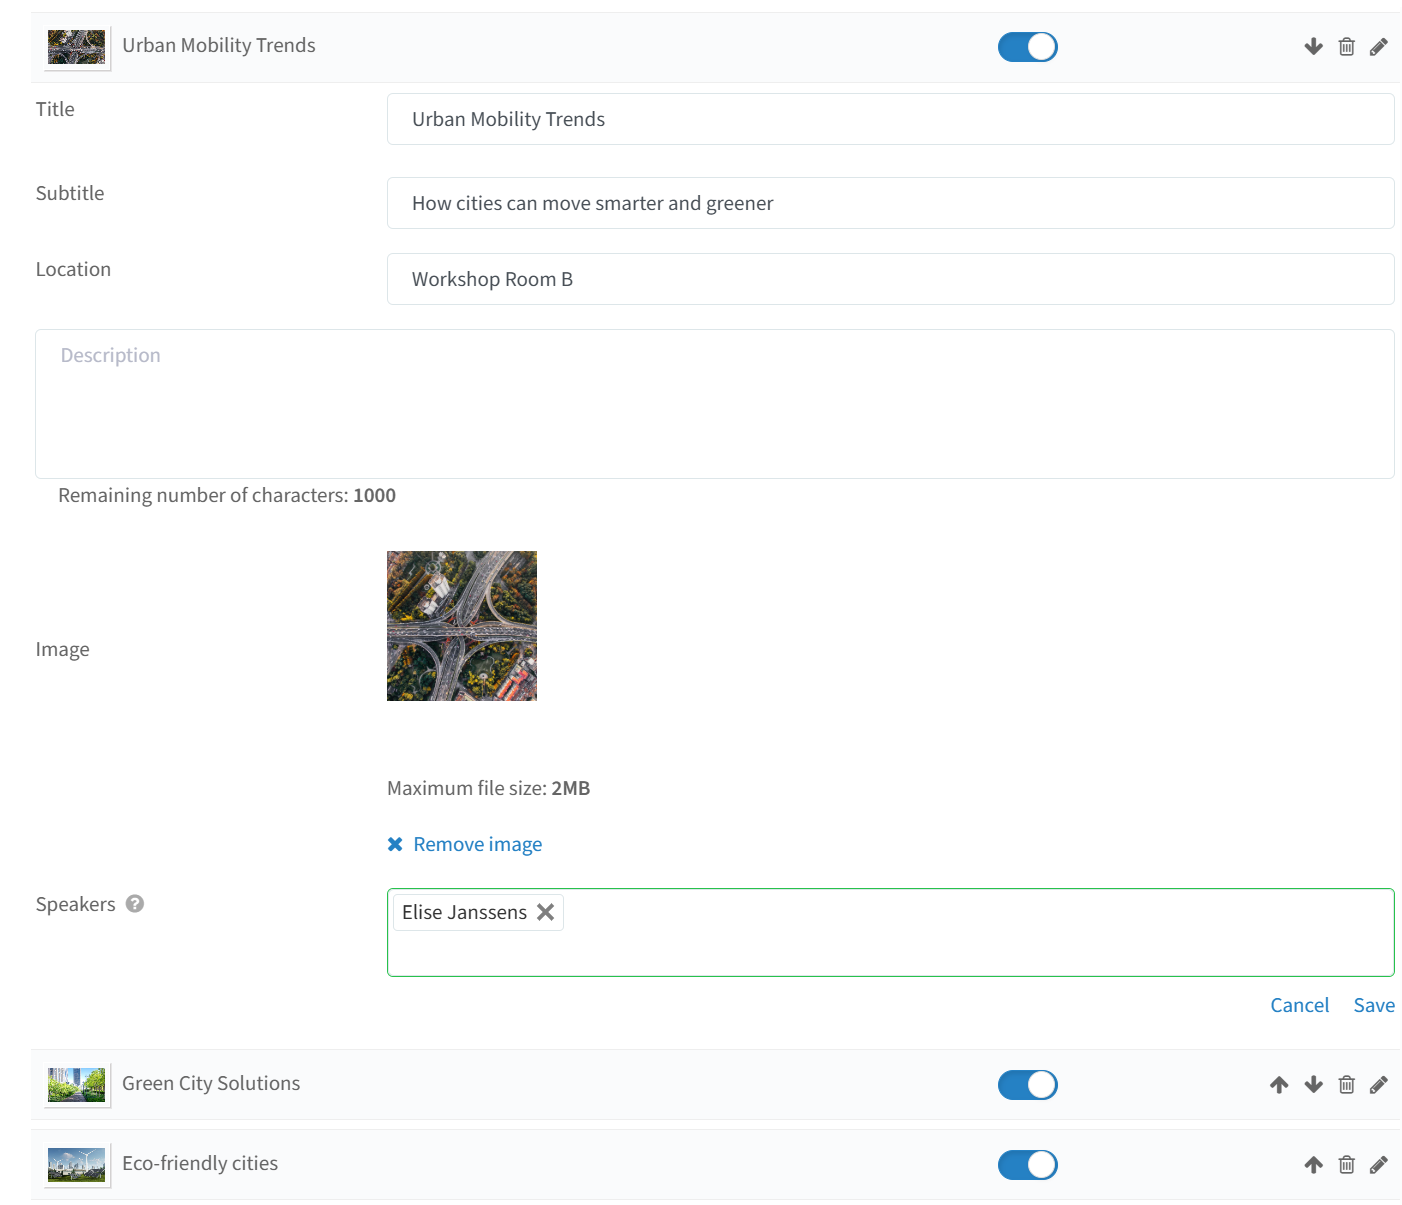
Designing your Workshop page: you can set the Title, Subtitle, Location, Description, Image, and Speaker for each workshop, and change the order of the workshops by clicking the arrows.
Note: you can only add speakers who have already been added on the Speakers page (see the Speakers page section below). Typing a name manually will not save your changes.
Display settings: in Settings, you can choose how the workshops are displayed on the website — either as a grid or as a list.

Speakers page
Premium feature. Contact InviteDesk for details.
On the Speakers page, you can provide an overview of all the speakers performing at your event. This page will appear as a Speakers tab on your event website.
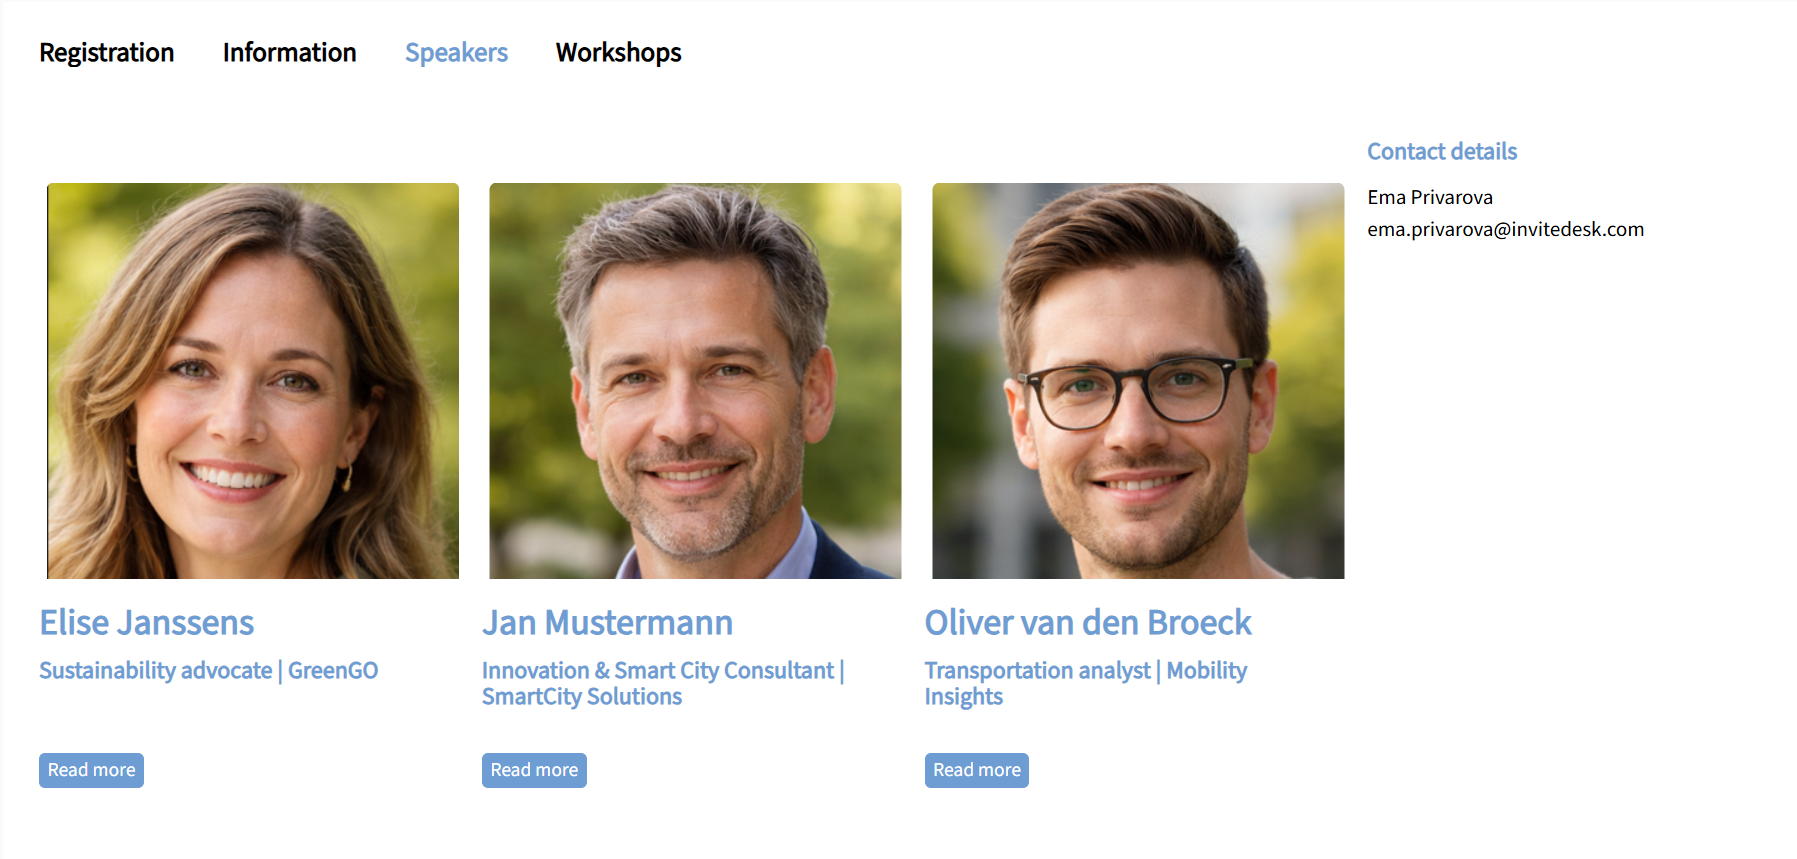
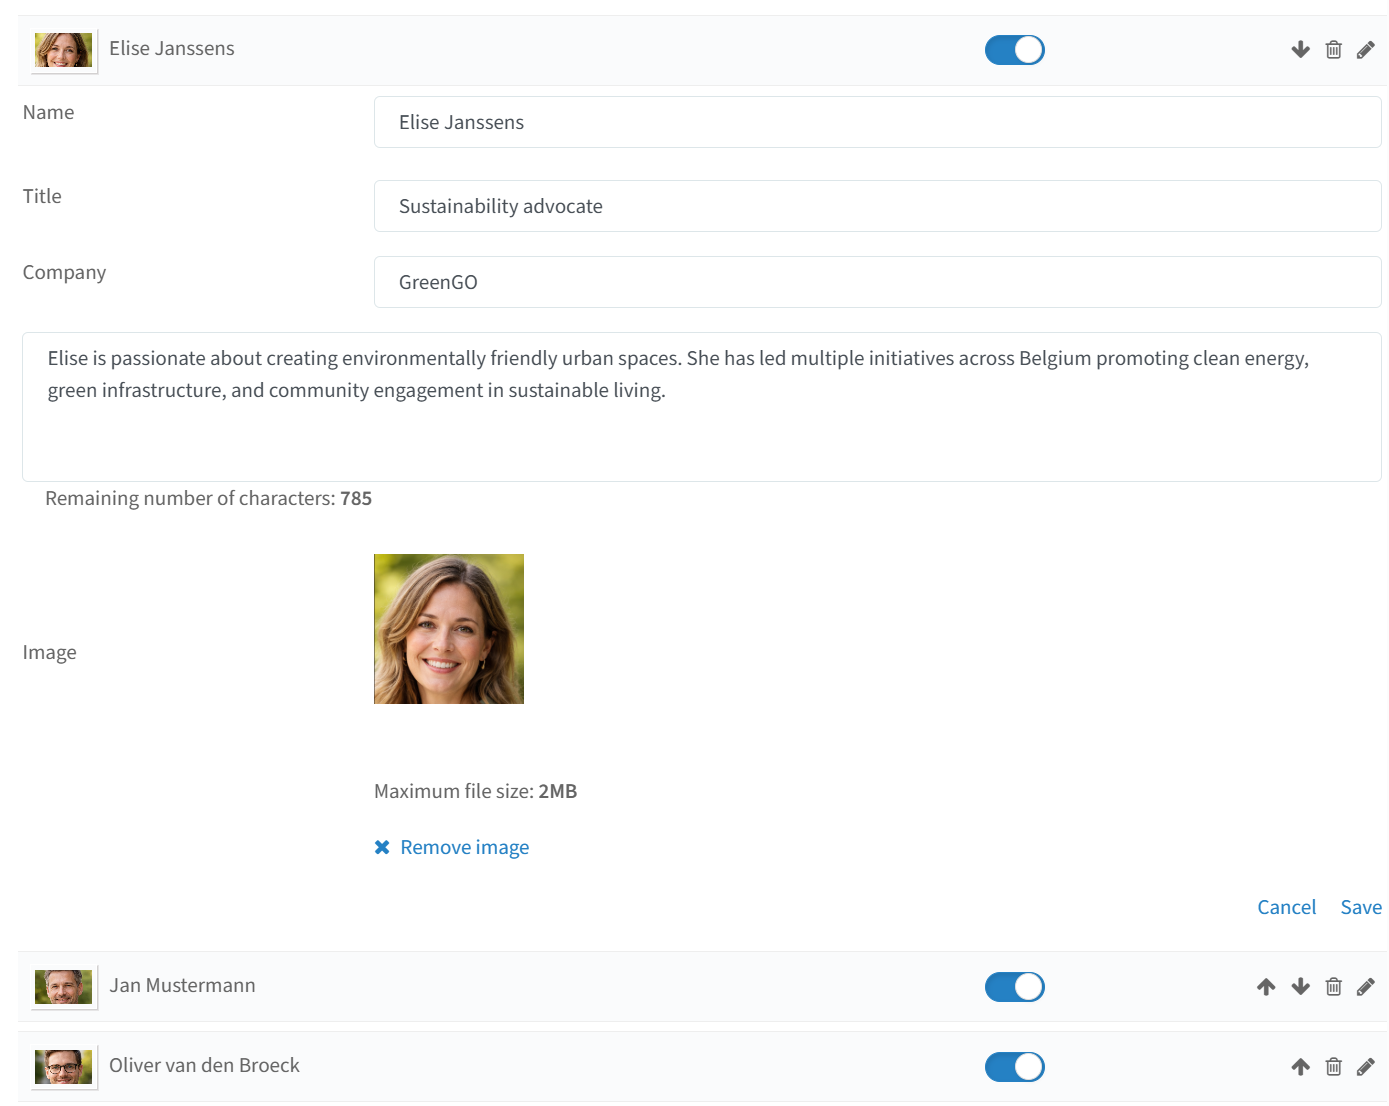
Designing your Speakers page: you can set the Name, Title, Company, Biography and Image for each speaker, and change the order of the speakers by clicking the arrows.
Display settings: in Settings, you can choose how the speakers are displayed on the website — either as a grid or as a list.
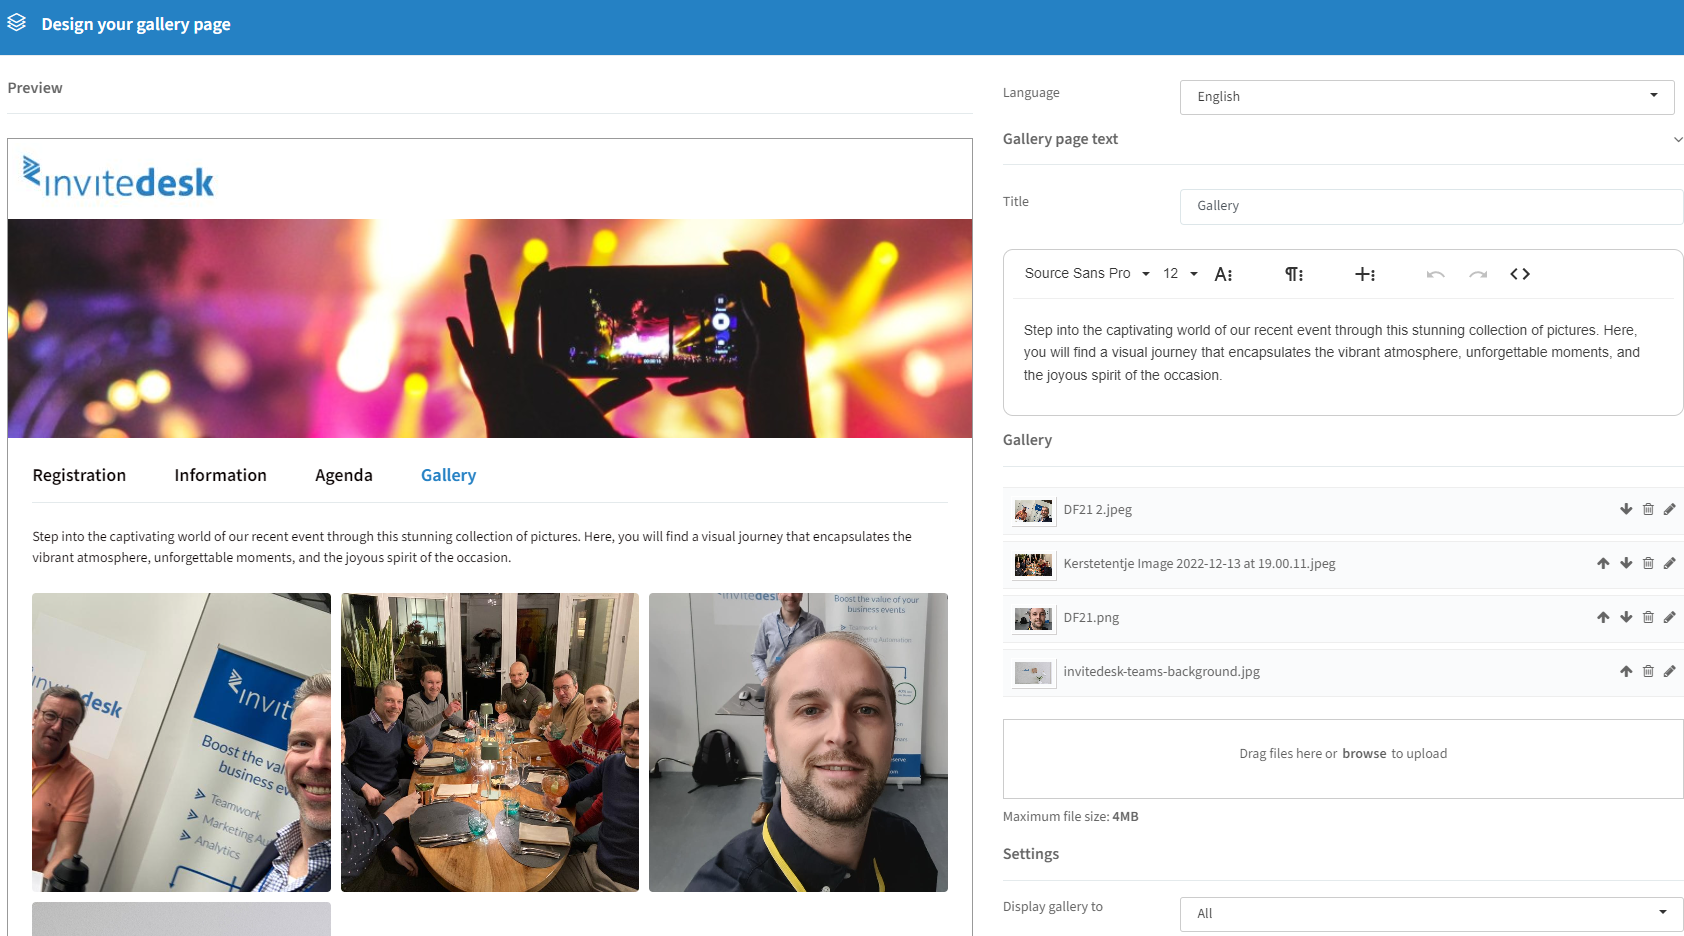
Gallery page
Paid feature. Contact InviteDesk for details.
On the Gallery page you can showcase images from your event. Below is an example of what you could achieve with a Gallery page:
Custom page
The Custom page adds a tab where you can insert your own content.