
Mailing Campaigns
Everything related to your mailing campaigns. You can find "Mailing campaigns" in the general menu on the top:

On this page:
Mailings campaigns overview
Mailing campaigns: Filters & actions
On the mailing campaigns overview, you have a centralised overview of your mailing campaigns. Search or sort them, e.g. by date.
Filters
Default filter: Future mailing campaigns. Can be changed to Past mailing campaigns or Deleted mailing campaigns.
Filter on owner.
Filter on tags.
Actions
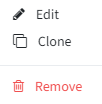
Edit: edit your created mailing campaign.
Clone: clone the mailing campaign, choosing what to clone.
Remove: remove the mailing campaign.
Tip: In some browsers, the 3 dots won't be visible at first — zoom in or out to make them appear.
Your centralised overview

See Campaign statistics below for what the different mail statuses mean. Tip: there's also a video tutorial about mailing campaigns.
Create a mailing campaign
At the top right of the mailing campaigns overview, click the "+" sign. A window will appear where you determine:
Mailing campaign details
Name: give your mailing campaign a name.
Send date: when you'll start sending.
End date: until when you'll keep sending. As long as this hasn't been reached, new recipients you add will still receive the mail.
Campaign type: additional types can be added in the unsubscribe settings.
Communication languages: define which languages you'll send the campaign in, depending on the languages selected in your main InviteDesk settings.
Target audience limitation: restrict the target group for the campaign using Public lists or My lists.
Campaign synchronisation: if you have a CRM or marketing automation integration, decide whether to synchronize the mailing campaign.
Tags: add tags to your mailing campaign.
Tip: there's a video tutorial about mailing campaigns available.
Mailing campaign dashboard
Campaign statistics

Actions: refresh statistics via the refresh symbol.
Mail statuses
Sent: the proportion of emails that actually left your sender server to reach recipients.
Opened: a delivered email that has been opened. Note: some client servers don't send back this information, leaving mails in "sent" status.
Clicked: the receiver clicked a link in the sent mail.
Spam: the recipient marked the email as unsolicited via their inbox's spam button. Typically aimed at marketing emails rather than transactional ones.
Bounced: all soft and hard bounces. "Soft bounces" are temporary (full inbox, connection timeout) and redelivery is attempted automatically — if not delivered within 5 days, marked as bounced. "Hard bounces" are permanent delivery errors (invalid address, non-existent server), which negatively impact your sender reputation.
Blocked: a Mailjet status for addresses that have previously hard-bounced, been marked as spam, or contain potentially spammy content, pre-blocked to protect your sender reputation. Contact your InviteDesk contact to deblock a verified address.
Recipient list
Recipients: Filters & actions

Filters
Filter on sender.
Filter on status: Unprocessed (not yet sent) or Processed (sent).
Filter on mail status: Queued, Sent, Opened, Clicked, Bounced, Spam, Blocked, or Not processed (mostly due to an incorrect mail address).
Tip: your applied filters (besides free text) are saved for next time.
Actions
Search for recipients: free text search.
Sorting columns: click a column to sort; a third click restores default.
Refresh the list.
Export: export the recipient list to Excel, naming the file and choosing what data to include (see Export recipient list below).
Print the recipient list.
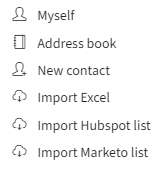
Add recipients: via Address book, New contact, Excel, HubSpot, or Marketo (see below).
Add recipients (Address book)
You can add yourself to the recipient list to test the campaign mail (use "Send test mail" if you're already added and want to test again).
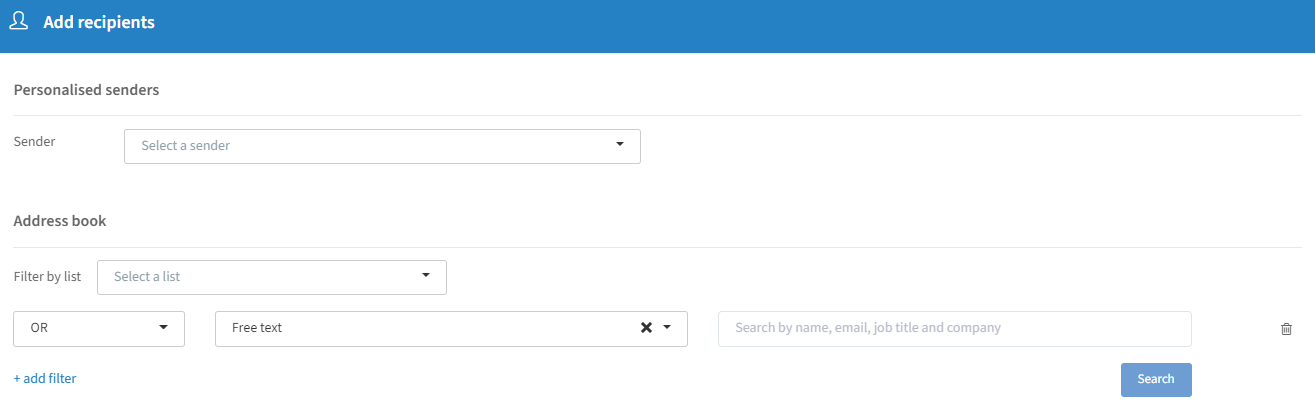
Link the selected recipient(s) to a personalised sender if needed.
Filter by a specific list (Public lists / My lists).
Apply several filters to search for contacts.
Select the contacts you need and click "Add" to add them to your recipient list.
Add recipients (New contact)
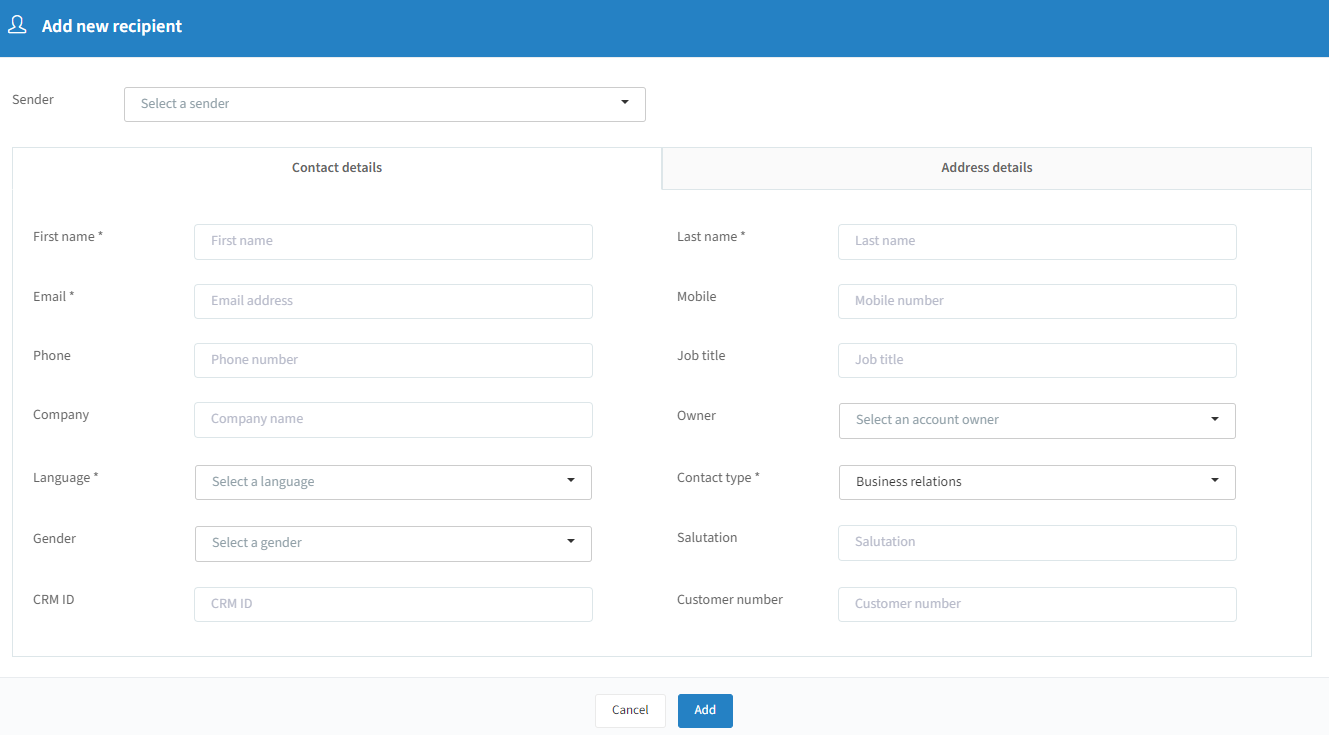
Link the recipient to a personalised sender if needed.
Fill in the mandatory fields marked with *.
Click "Add" to add the new contact to your recipient list.
Add recipients (Excel)
Click the "+" sign on the right-hand side of your recipient list, choose "Import Excel". The system takes you through a wizard:
Upload: choose your file (max 10,000 rows) and indicate whether the first line is data or column headers.
Selection:
Contact type: "Employees" or "Business relations".
Language: default communication language if not in your file.
Account owner: linked to the imported contacts.
Sender: link recipients to a personalised sender, or leave empty and map a "Sender email" column instead so each recipient gets the correct personalised sender in one upload.
Mailing permissions: default if not present in your file; activating the slider applies the default to all contacts (note: this overwrites existing permissions).
Imported contacts: map columns to data fields. Email is mandatory; columns can be skipped.
Excel validation: flags duplicates and incomplete data (e.g. "E-mail is empty").
Database validation: shows new vs. existing contacts, with options for how to handle existing ones.
Click "Finish" to add the contacts to your recipient list.
Add recipients (HubSpot)
Click the "+" sign, choose "Import HubSpot list", then:
CRM list: choose your HubSpot list.
Personalised senders: link contacts to a specific InviteDesk or HubSpot personalised sender.
Tip: this runs in the background; you'll get an email notification when it's complete.
Add recipients (Marketo)
Click the "+" sign, choose "Import Marketo list", then:
CRM list: choose your Marketo list.
Personalised senders: link contacts to a specific InviteDesk personalised sender.
Tip: this runs in the background; you'll get an email notification when it's complete.
Export recipient list

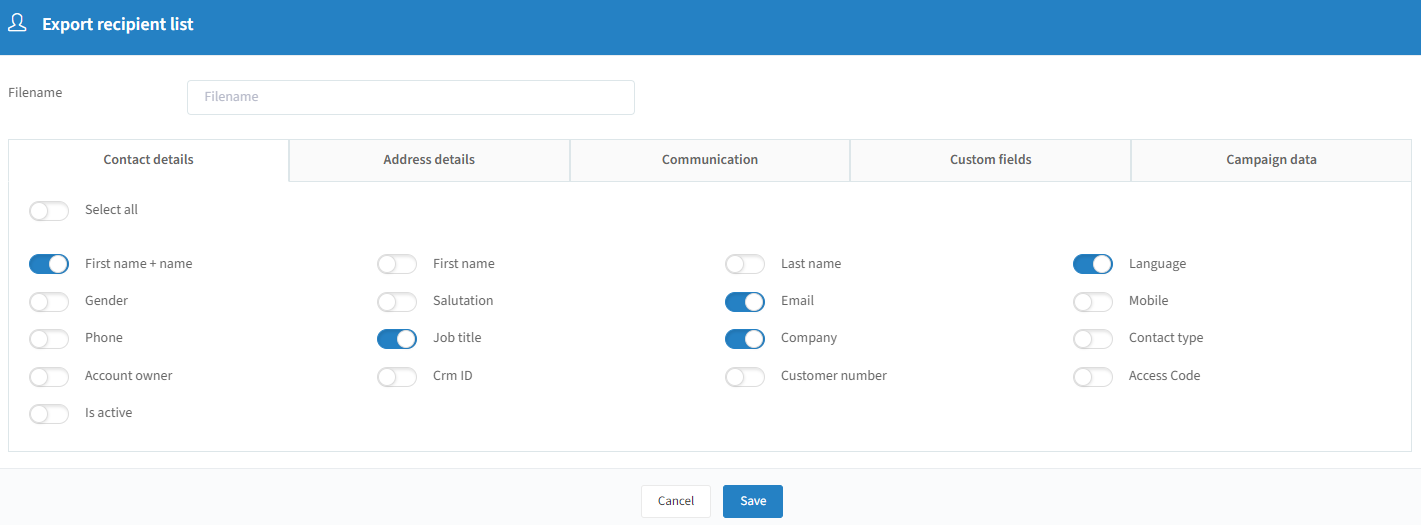
Choose the data you want across the tabs, and click "Save" to generate your Excel file.
Communication setup
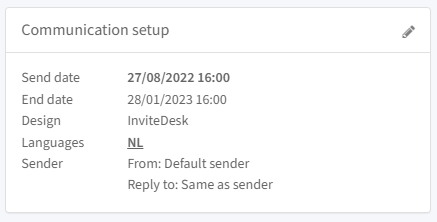
Send and end date: when you start and stop sending — recipients added before the end date still receive the mail.
Design: choose which design template to use (your default is pre-selected); upload a banner here too.
Communication languages: depends on your main InviteDesk settings.
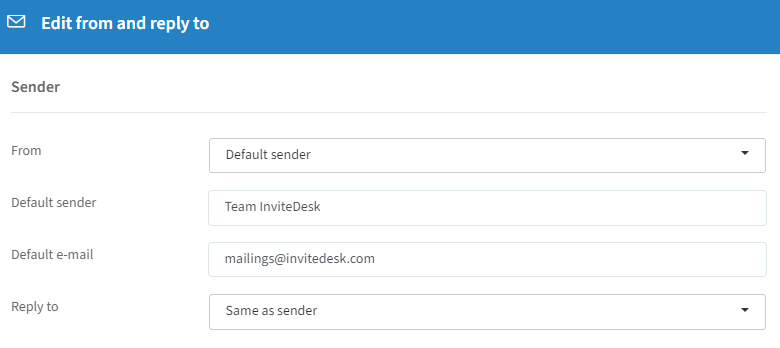
When "Default sender" is selected, recipients receive mail from their personalised sender (e.g. sales rep) if linked, otherwise from the name/email set under "Default sender".
When "Personalised sender" is selected, mail is always sent from the specified name/email regardless of any linked personalised sender.
"Reply to" can either match the "From" settings or be a separate address for replies.
Tip: "Mail Validation" ensures the campaign mail leaves from your chosen name and your actual email domain. Contact InviteDesk if this hasn't been set up yet.
Create/edit campaign mail
Campaign mail design
On the mailing campaign dashboard, click the "+" sign of the campaign email section to create your campaign mail, where you can adjust the design, content, add attachments, and send a test mail.
Template: chosen in the communication setup — your default template is pre-selected but can be changed, and you can upload a banner.

Campaign mail content
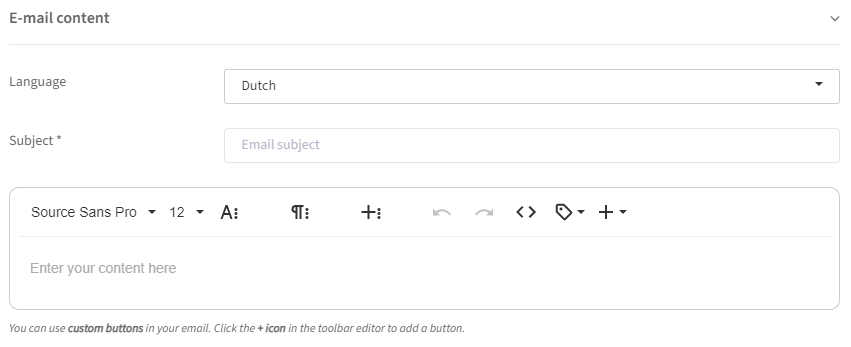
Fill in the subject and edit content in the editor. Personalise the content using variables (via the variables icon).
Tips:
Keep the design simple for optimal readability and conversion.
If communicating in multiple languages, write the copy in all of them.
When using variables, make sure you've collected the info needed to fill them in correctly.
Campaign mail attachments
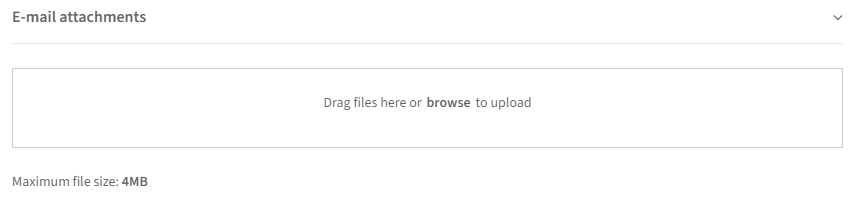
See the supported file formats article for what's possible.
Campaign mail: send test mail
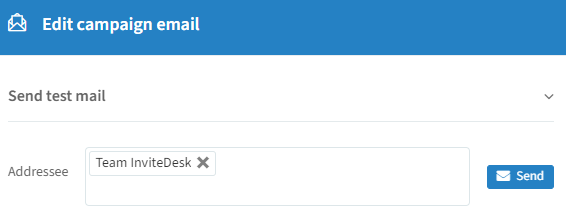
Tip: the test mail shows how the email will look for recipients. It can only be sent to users in the system.
Personalised senders
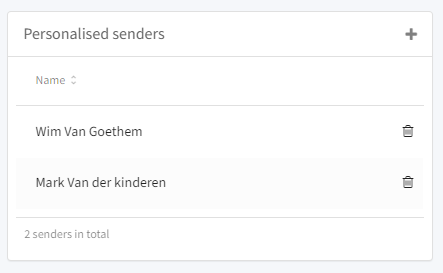
Click the "+" sign to add an existing user as a personalised sender. You can also add personalised senders directly when importing an Excel file to the recipient list, by mapping a column with the sender's email to "Sender email".
Whether mails are actually sent in the name of personalised senders depends on the mailing campaign's communication setup.
Tip: "Mail Validation" ensures the campaign mail leaves from your chosen name and your actual email domain. Contact InviteDesk if this hasn't been set up yet.