
Custom fonts
(Paid feature — contact InviteDesk to access this.)
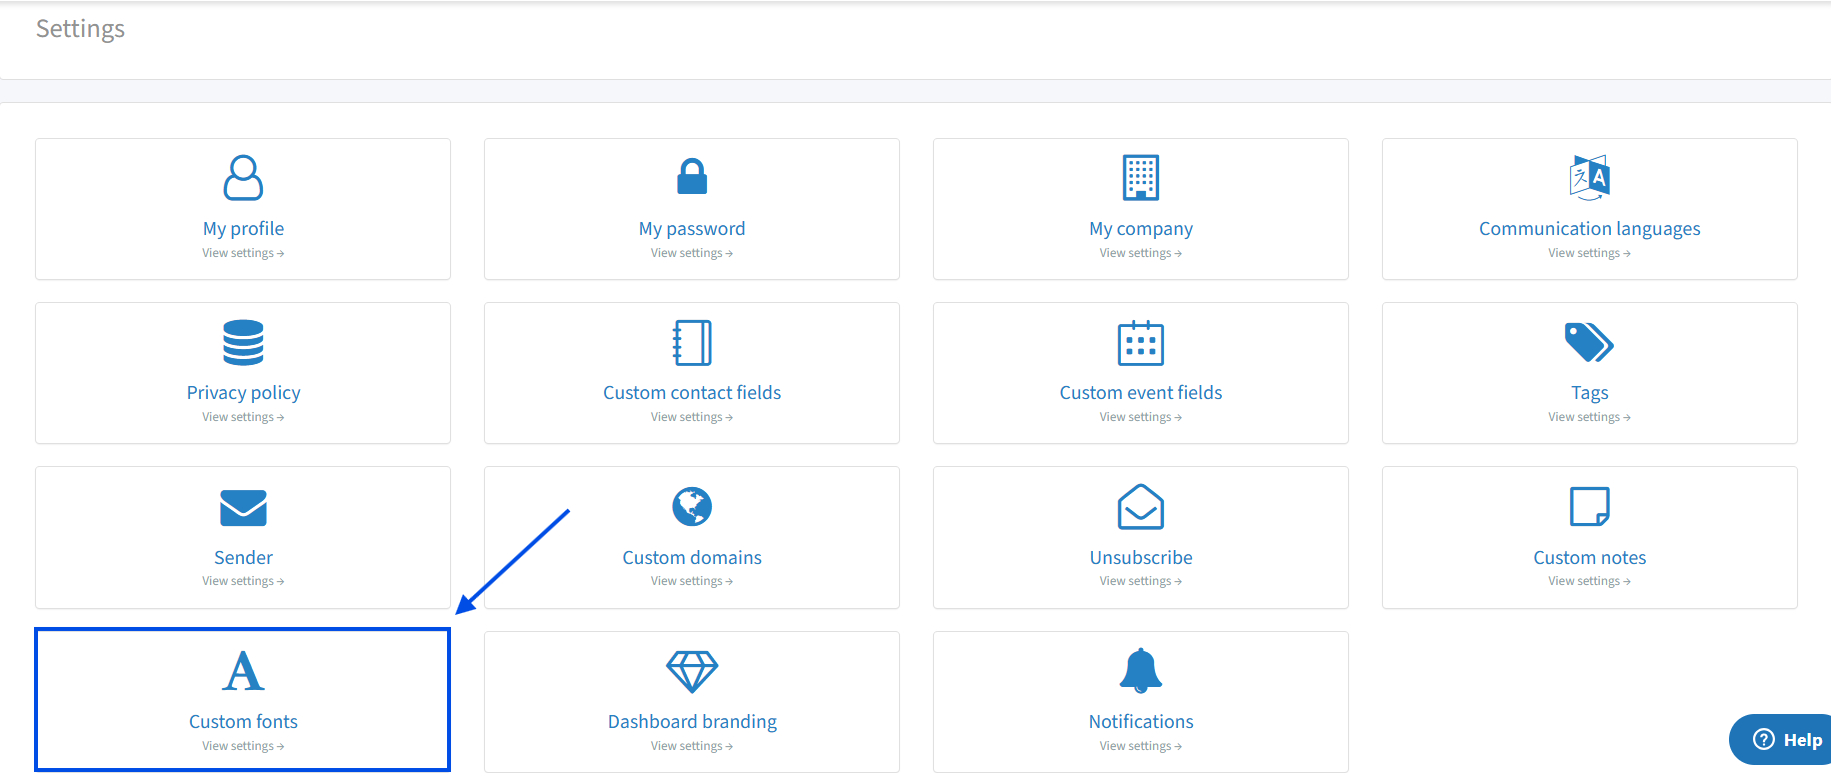
By clicking on "Custom fonts", you will see the following:
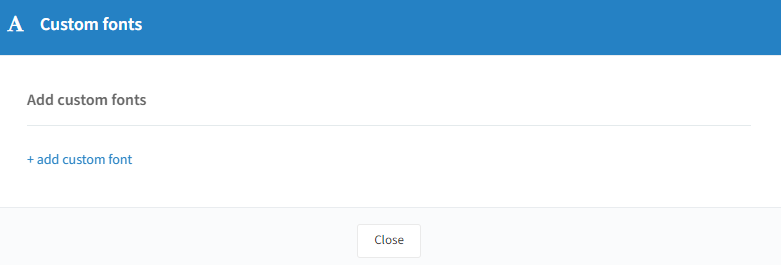
To add a new font, click on "+ add custom font":
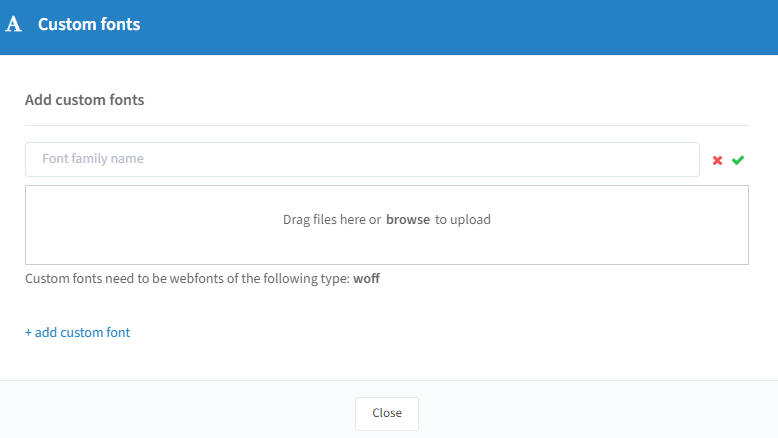
Give your font a name (letters only).
Upload your font — custom fonts need to be web fonts of type woff. If you have a ttf file, you can easily convert it to woff with an online tool.
Click on the green check mark to confirm your upload. You will then be able to:
Remove the custom font: via the trashcan icon — only possible if it's currently not in use.
Edit custom font: via the pencil icon — if you change the name of an uploaded custom font, reload the page.
As a final step, add your custom font to a design template or select it in the text editor — that template will then use your custom font (see the Templates page).
Tip: Your custom font appears only on the registration page. Email clients convert fonts to ones they support (for example, Arial or Times New Roman), because Outlook generally offers a limited set of fonts.