Paydesk
Manage payments & invoices directly in InviteDesk. For paid events, you can use our Paydesk — you'll find it in the top bar, and it lets you collect entrance fees directly within the platform. For a video overview of paid events, see our Paydesk and Stripe video.

On this page:
Paydesk section
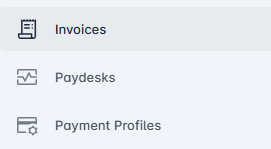
You can manage three levels of payments:
Payment Profile: set up your preferred payment provider.
Paydesks: configure payment options for individual events.
Invoices: send invoices to your guests as needed.
Payment profiles
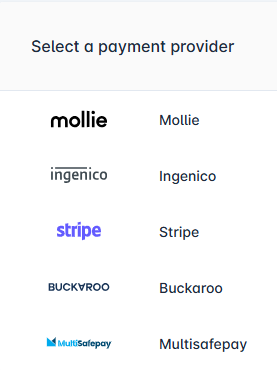
Choose the online payment provider that will process the payment. You must have an existing account with the provider to be able to link it with Paydesk. If you will only use offline payment via a generated invoice, you can skip this step.
Paydesks
Configure payments at event level: general payment settings, beneficiary details, invoice settings, and linking a payment profile. Select the currency and the email address for invoice delivery. Enter beneficiary information (the party issuing the invoice), and indicate whether VAT applies and its percentage.
Under Document Generation, choose whether the system generates an invoice, a payment confirmation, or lets the participant choose. This affects the registration page — if invoice is enabled, participants must complete additional invoicing details during registration. An invoice is always issued in the name of the beneficiary.
In the Payments section, select the payment provider and link the correct payment profile to the event. You can also upload an invoice banner as a default template, which can still be modified at event level afterwards.
Invoices
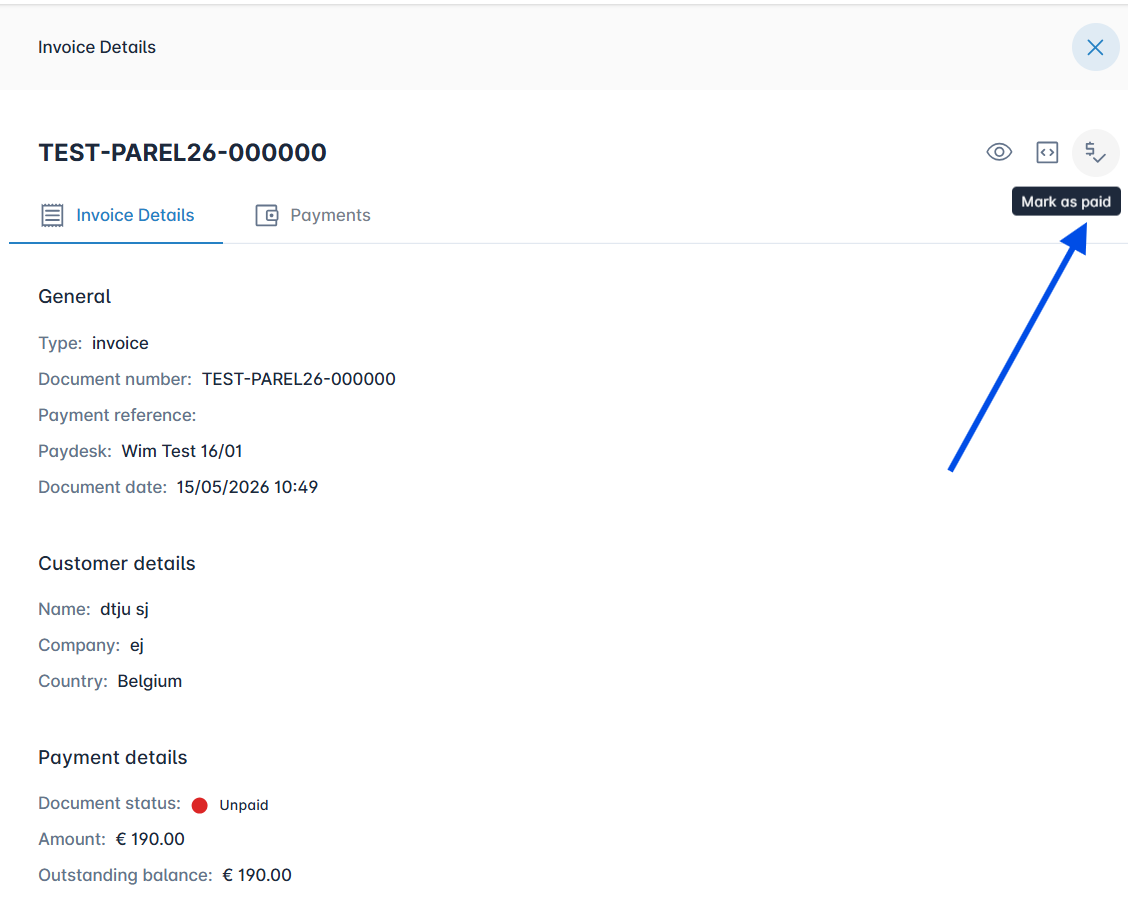
Monitor whether payments are completed, pending, or outstanding. If a payment wasn't made via the InviteDesk paydesk, you can manually confirm and update its status.
The Invoice Overview shows: Invoice number, Type, Name, Internal reference, Document date, Payment status, and Total. Click an invoice to open it as a PDF & UBL and view additional details.
Event level
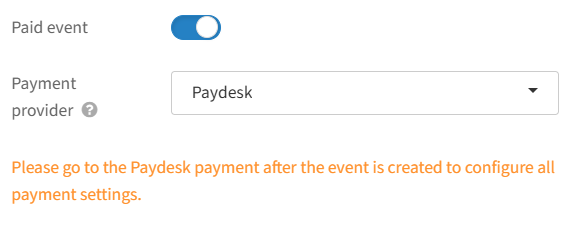
To make an event paid, activate the "Paid event" slider in the Event details and select a payment method such as Paydesk or Stripe.
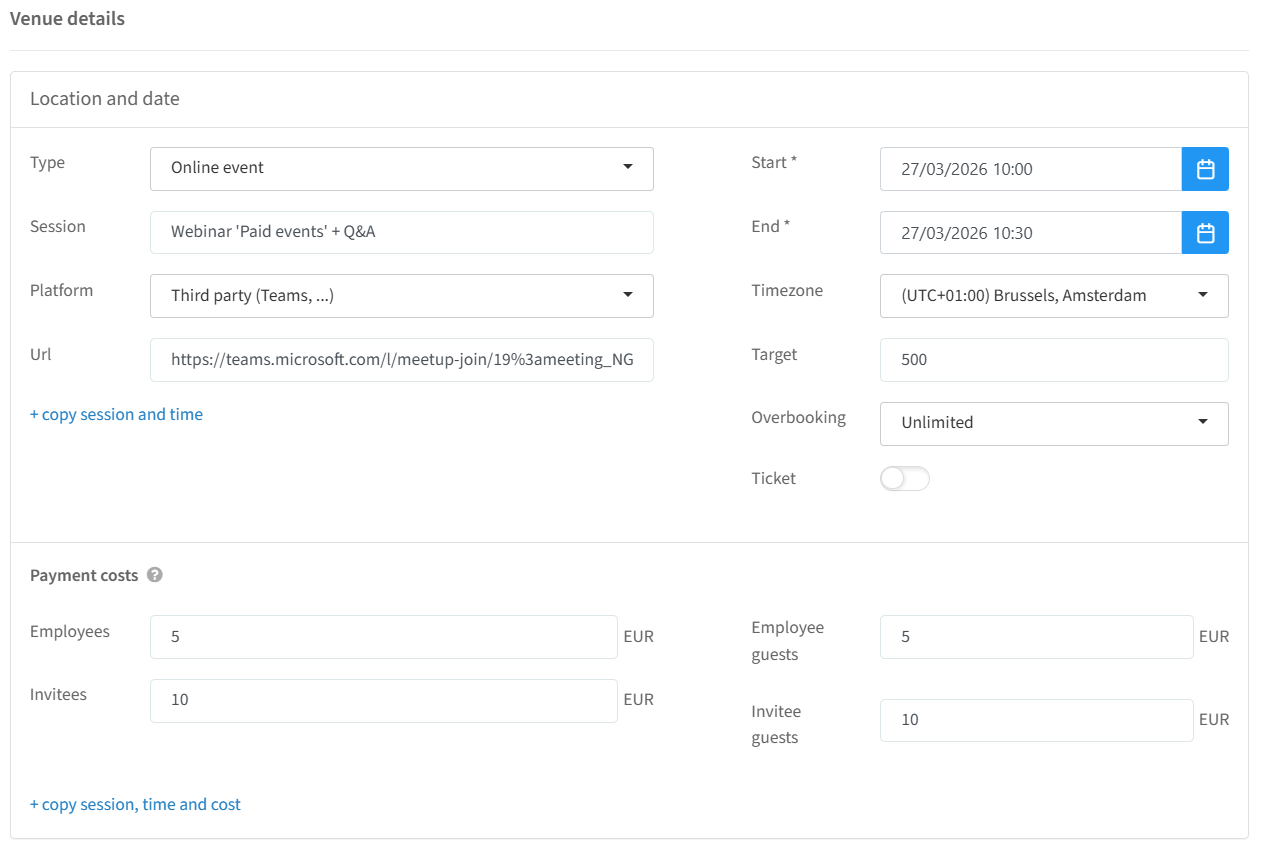
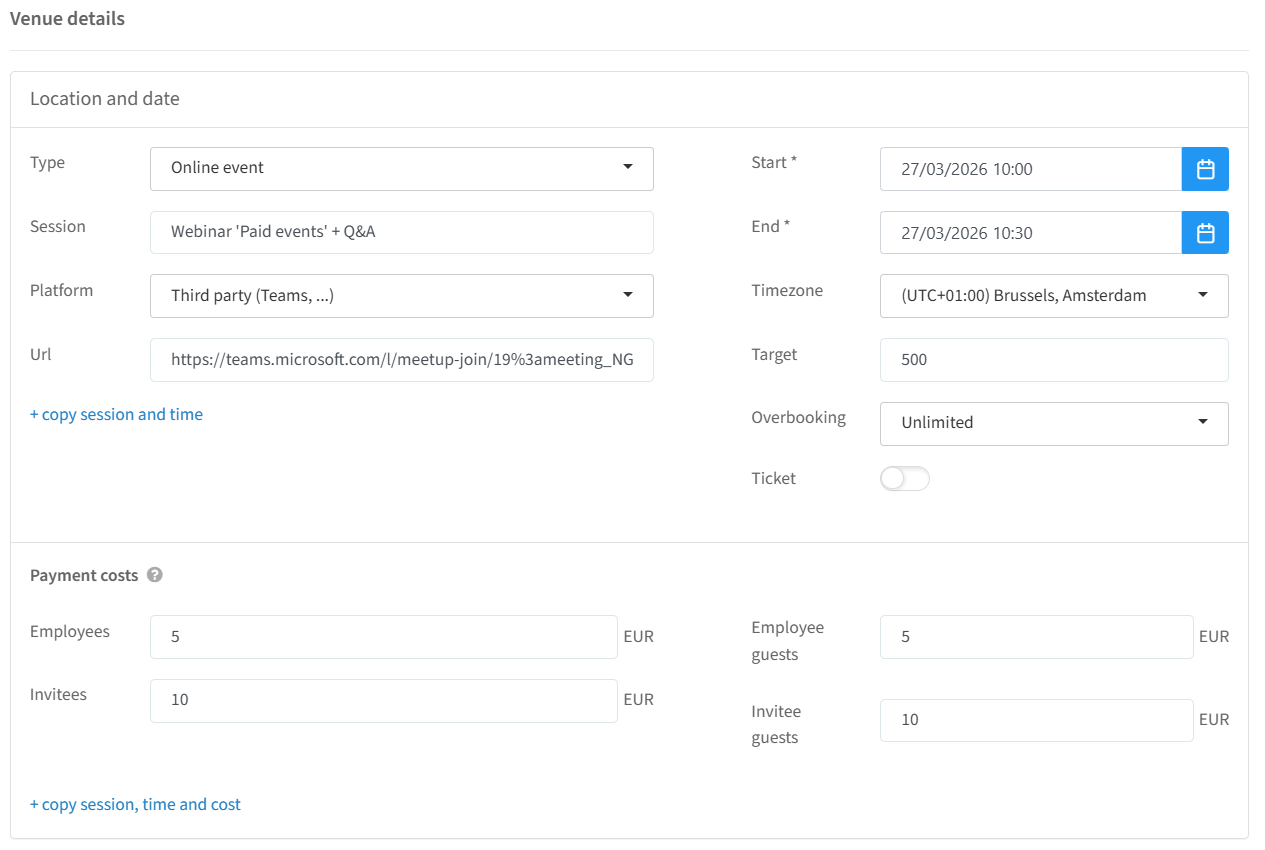
In the venue detail you can set a price and choose a different price for internal contacts; you can also set a separate price for additional guests on a registration.
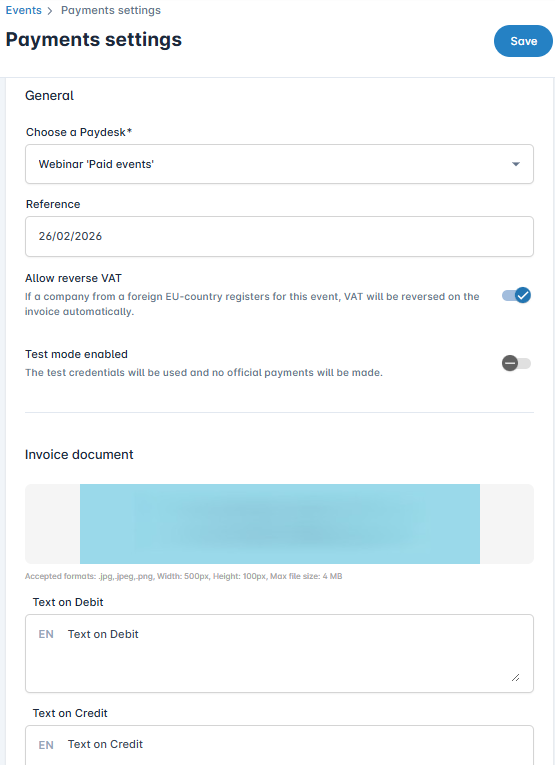
In the event dashboard, use the left-hand bar to access additional payment settings for your event. You can select a paydesk, add a reference, allow reverse VAT and enable automatic refunds. You can also enable or disable testing mode or add a banner and text on debit and credit note.
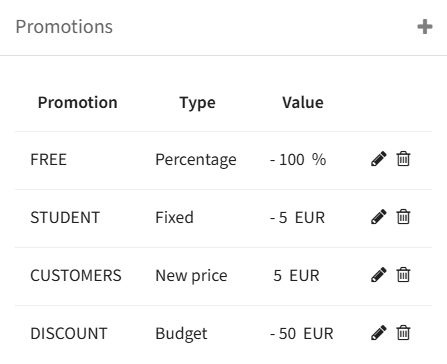
The payment flow
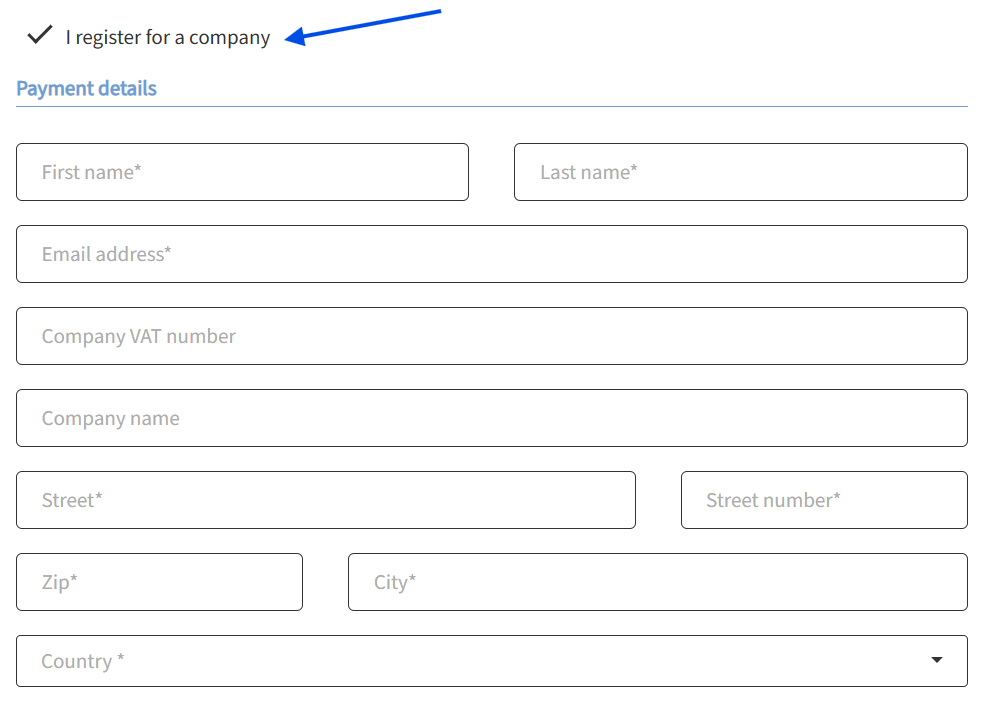
On the registration page, when invoice is selected as the payment method, the required invoice fields are automatically shown. The invoice email address can differ from the registration email address; for a company registration, a valid company VAT number is required.
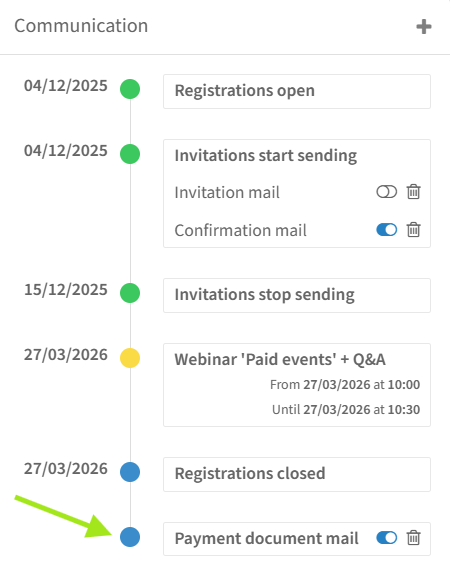
In the invitation list, participants who registered but haven't completed payment show status "Payment pending" for 15 minutes.
Online payments/Wire transfers
On the registration page, if both online and offline payments are enabled, the guests can select:

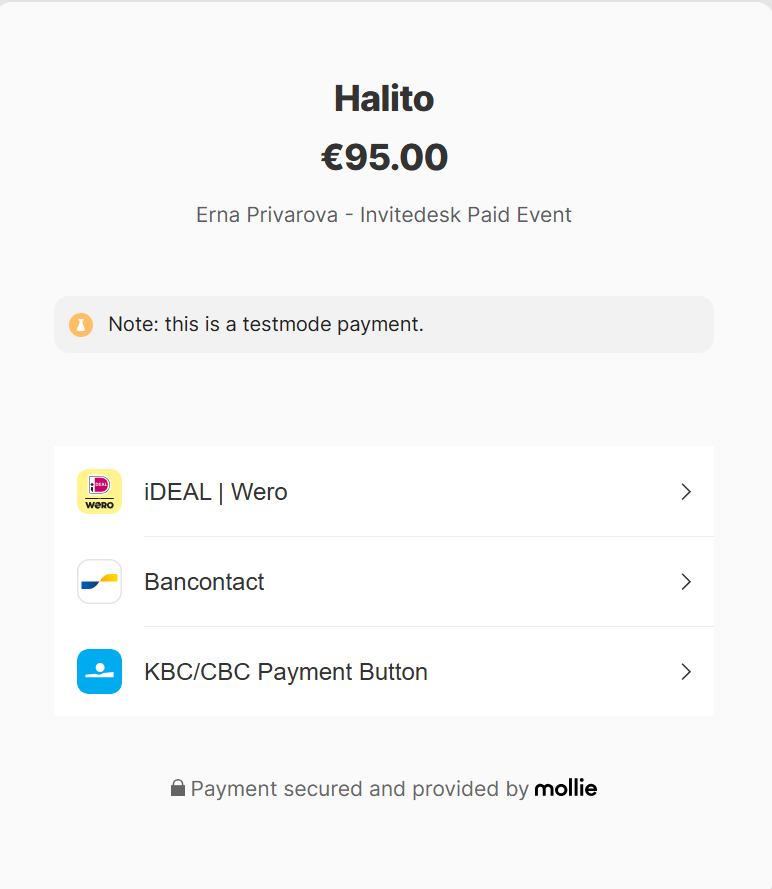
If they select online payment they will see the following screen (Mollie):
If they select an offline payment, an email will be sent containing the payment document. You will see the invoice issued to the guest in their details on the invitation list.
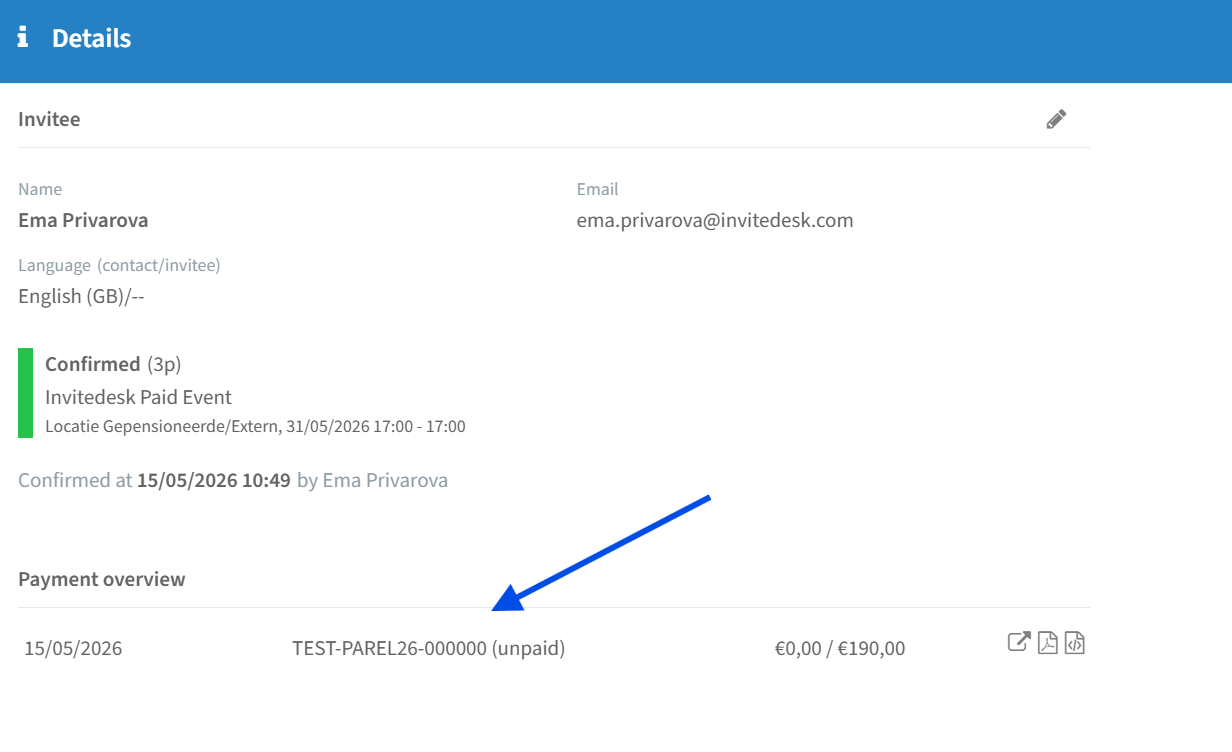
You can download it or go to the invoice details in Paydesk. There you can mark the invoice as paid. If the invoice is already paid, you can issue a refund manually on the same place.