Public Pages
Open to everyone or code protected public pages. You can find the section of the public pages in the top bar:

On this page:
With InviteDesk you can easily create specific pages on which you can display different events. For example, from your own company website or your LinkedIn page, you can link directly to these event overviews so your visitors can register for your events.
Overview & actions

Filters
You can apply the following filters:
Filter on active/inactive public pages: you can filter on public pages that are active or public pages that are inactive.
Actions
You can do the following actions:
Search for public pages: in this free text field, you can search for a public page by typing for example a word that is in the public page itself.
Sorting columns: by clicking a column you can apply sorting for that specific column.
Copy iframe HTML code: by clicking the first icon under actions, you can copy the iframe HTML code. This will only be visible if "Open in iframe" is selected during the creation of your public page.
Public page link: by clicking the chain icon, you can copy/customize your public page link. You can copy this URL by clicking the clipboard icon on the right side of the link.
Edit public page: by clicking the pencil icon, you can edit the public page.
Disable public page: by clicking the icon next to the pencil, you can disable the public page. This will move the public page to the inactive public pages.
Remove public page: by clicking the trashcan icon, you can remove the public page. This will remove the public page completely and it will also not be in the inactive public pages section.
Add new/edit public page
To add a new public page, click on the "+" icon on the right-hand side. This will reveal the creation model containing 5 easy steps. To edit an existing public page, click on the pencil icon on the right-hand side of an existing public page. This will reveal the same model containing 5 easy steps.
Step 1: Design template
Choose a design template from your available templates (see "Add new/edit a design template" on the Templates page).
Step 2: Languages
Choose in which languages you want to make the public page available and which language is the default — in case you do not know the language of your contacts. The languages you have available depend on the languages you have selected in the main settings of InviteDesk (see the My communication languages page).
Step 3: Settings
Basic settings
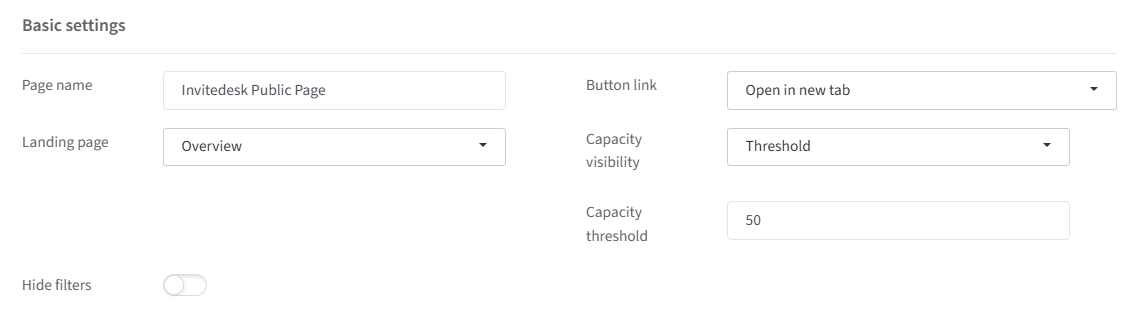
In the basic settings section, you can adjust the following:
Page name: give your public page a name. The link for the public page can be determined later.
Landing page: here you can choose the landing page option for your public page. You can choose "Overview" to view your events in blocks or you can choose "Calendar" to see your events marked on a calendar.
Hide filters: you can show or hide the possibility for your guests to filter on the event filters you have created.
Button link: here you can choose to open the public page in a new tab or in an iframe. If open in iframe is selected, you will be able to copy the HTML code in the overview of your public pages (see "Overview & actions" above).
Capacity visibility: you can choose whether the number of available spots is visible to visitors of the page. The following options are available: "Always", "Never", and "Threshold". For the "Threshold" option, you can set the minimum number of registered guests required before the remaining capacity is displayed.
Access settings

Public: the website will be available to everyone with a link to it.
Personalized Public Page: you can grant access to "Everyone" in your address book, or only to your "Invitees", which is everyone who is invited to an event.
Password: the visitors to the page will be asked for a personal access code (see "Personal access code" below) before they can access the events. This code is generated automatically in InviteDesk per contact in the address book. You can grant access to "Everyone" in your address book, or only to your "Invitees", which is everyone who is invited to an event.
Welcome text
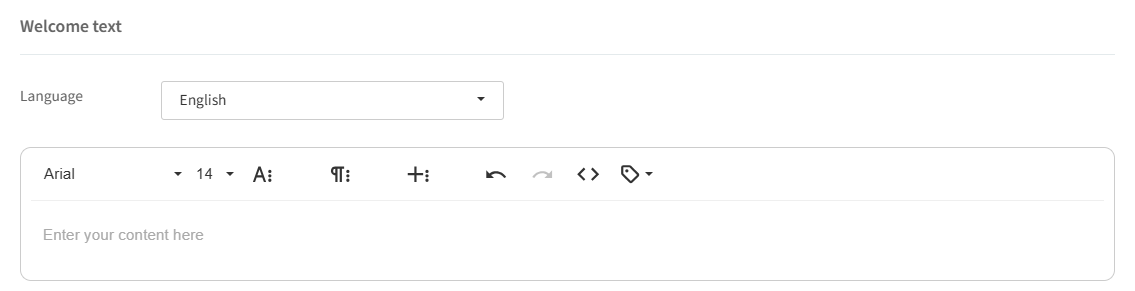
In the welcome text section, the text that will be visible on your public page, you can adjust the following:
Language: choose your desired language.
Text editor: adjust the welcome text to your liking.
Note: in this text it is not possible to use variables, since it is not a personalized page.
Step 4: Email alert
The email alert will send a mail to your contacts when new events get published. You will have the following options: None, Daily, or Weekly.
Step 5: SMS alert
The SMS alert will send a message to your contacts when new events get published. You will have the following options: None or Weekly.
Now you can click on "Finish" and your public page has been created.
The page link
To activate your public page, you need to define the URL you would like to use. You do this by clicking on the chain icon and you will see the following:
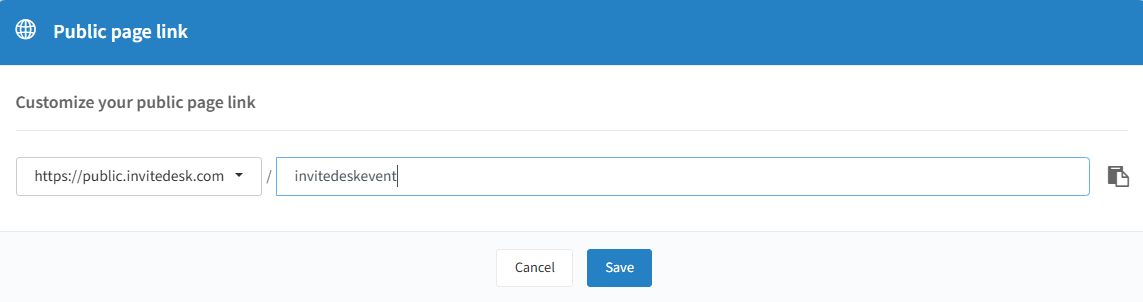
You can copy this URL by clicking the clipboard icon on the right side of the link. Click on "Save" and from now on, you can use this URL, to link to this page, in your external communication.
Once you've completed all the steps, you can use this public page for the event you created. Instructions on how to publish an event on a public website can be found on the Communication setup page.
Personal access code
You can choose to give your guests access to the public page using a personal access code (see "Add new/edit public page" above).
Note: it is currently not possible to password-protect your registration page directly (see "Registration page" on the Event website page). However, by publishing your event on a public page, you can ensure that guests must enter their personal access code before registering.
Possible use cases
If you want to give access only to a specific group of guests for registering for multiple events (e.g. trainings, workshops, etc.), without having to invite them individually.
If you are sending paper invitations and want to ensure that each registration page is personal (with a pre-filled name and e-mail) and linked to an existing contact in InviteDesk (see "How do I manage paper invitations in InviteDesk?" on the Tips & Videos page).
Where to find the access code
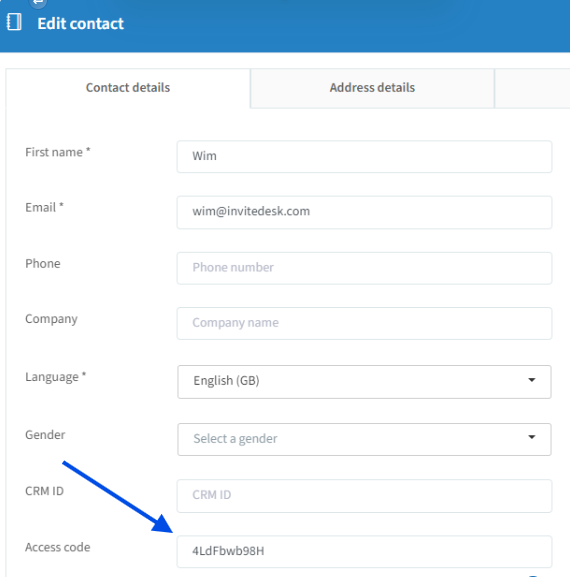
A personal access code is automatically generated in InviteDesk for every created contact. You can find the access code in the contact details section (see the Invitation list page); this field is always filled after the contact is created.
How to distribute the access code
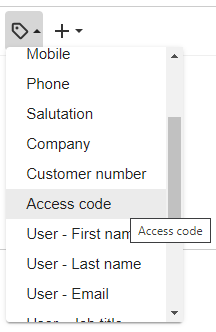
Within InviteDesk: use variables in your mailings to inform your contacts about their personal access code:
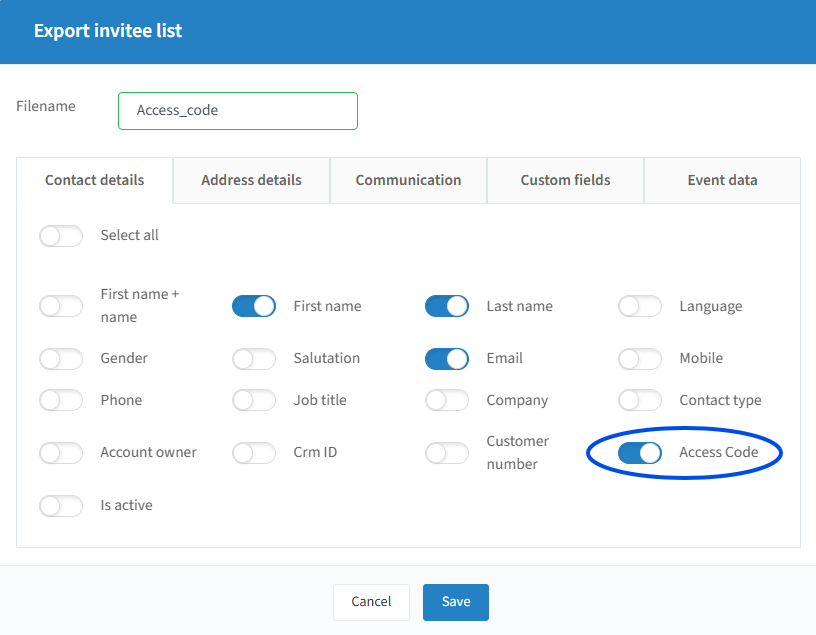
Outside of InviteDesk: export the access codes into an Excel file along with contact data from the invitation list. This provides a central overview of all access codes linked to contacts.