Attendee list
On this page:
Attendee list: Filters & actions
When your communication campaign is running, you can follow up and manage your attendee list. When you are on the dashboard of your event, you can find the attendee list here:

Filters
You can apply the following filters:
Filter on account owner: search for attendees by account owner.
Filter on ticket holder: search for attendees by ticket holder (see the Ticket holders page).
Filter by contact type: search for attendees by type — Employees or Business relations.
Filter on status: search by attendee status — Checked in, Registered, or No-show.
Filter on venue: search for attendees by venue.
Filter by segment: search for attendees that belong to a specific segment.
Tip: your applied filters, besides the free text field, will be saved the next time you visit your list.
Actions (Basic)
Search for attendees: in the free text field, search for an attendee by typing e.g. their name.
Sorting columns: click a column to apply sorting for that column; clicking a third time restores the default.
Actions (Advanced)
Next to every attendee, you will see different action buttons in the last column:
The 'i': find details of an attendee, including the answers to any additional questions you asked on your registration page and, for example, info about UTM statistics (see "Registration sources (UTM)" on the Event dashboard page). You will also see if this attendee belongs to a specific segment.
The "pencil" icons: edit the segment membership for this specific attendee.
The "Notes guest" icon: find an overview of your notes and tasks for a specific attendee, or create a new note and/or task (see the Custom notes page).
The "Check-in, Check out and Attendee didn't show up" icons: manually check-in/out the attendee or indicate a No-show.
You can also select multiple attendees at once via the checkboxes on the left-hand side, and then:
Revert: revert the attendee back to status registered.
Check-in: check-in the selected attendee(s).
Check out: check out the selected attendee(s).
No-show: indicate that the selected attendee(s) didn't show up.
Edit: edit the segment membership of multiple attendees at once.
You can do this process manually (not needed when your event type is a webinar — check-in happens automatically), or you can use Frontdesk (see "Check in/out on desktop" and "Check in/out on mobile" on the Frontdesk page).
Finally, additional options are available on the top right-hand side:
Segment: create a segment for your attendees.
Refresh: refresh the list.
View activities: the clock icon shows the activities of users in the system. Only visible for admin users — contact InviteDesk for details.
Export: export your attendee list (see "Export attendee list" below).
Print: print your attendee list.
Export attendee list
Click on the following symbol on the right-hand side when you are on the tab of the attendee list:

You will see the following:
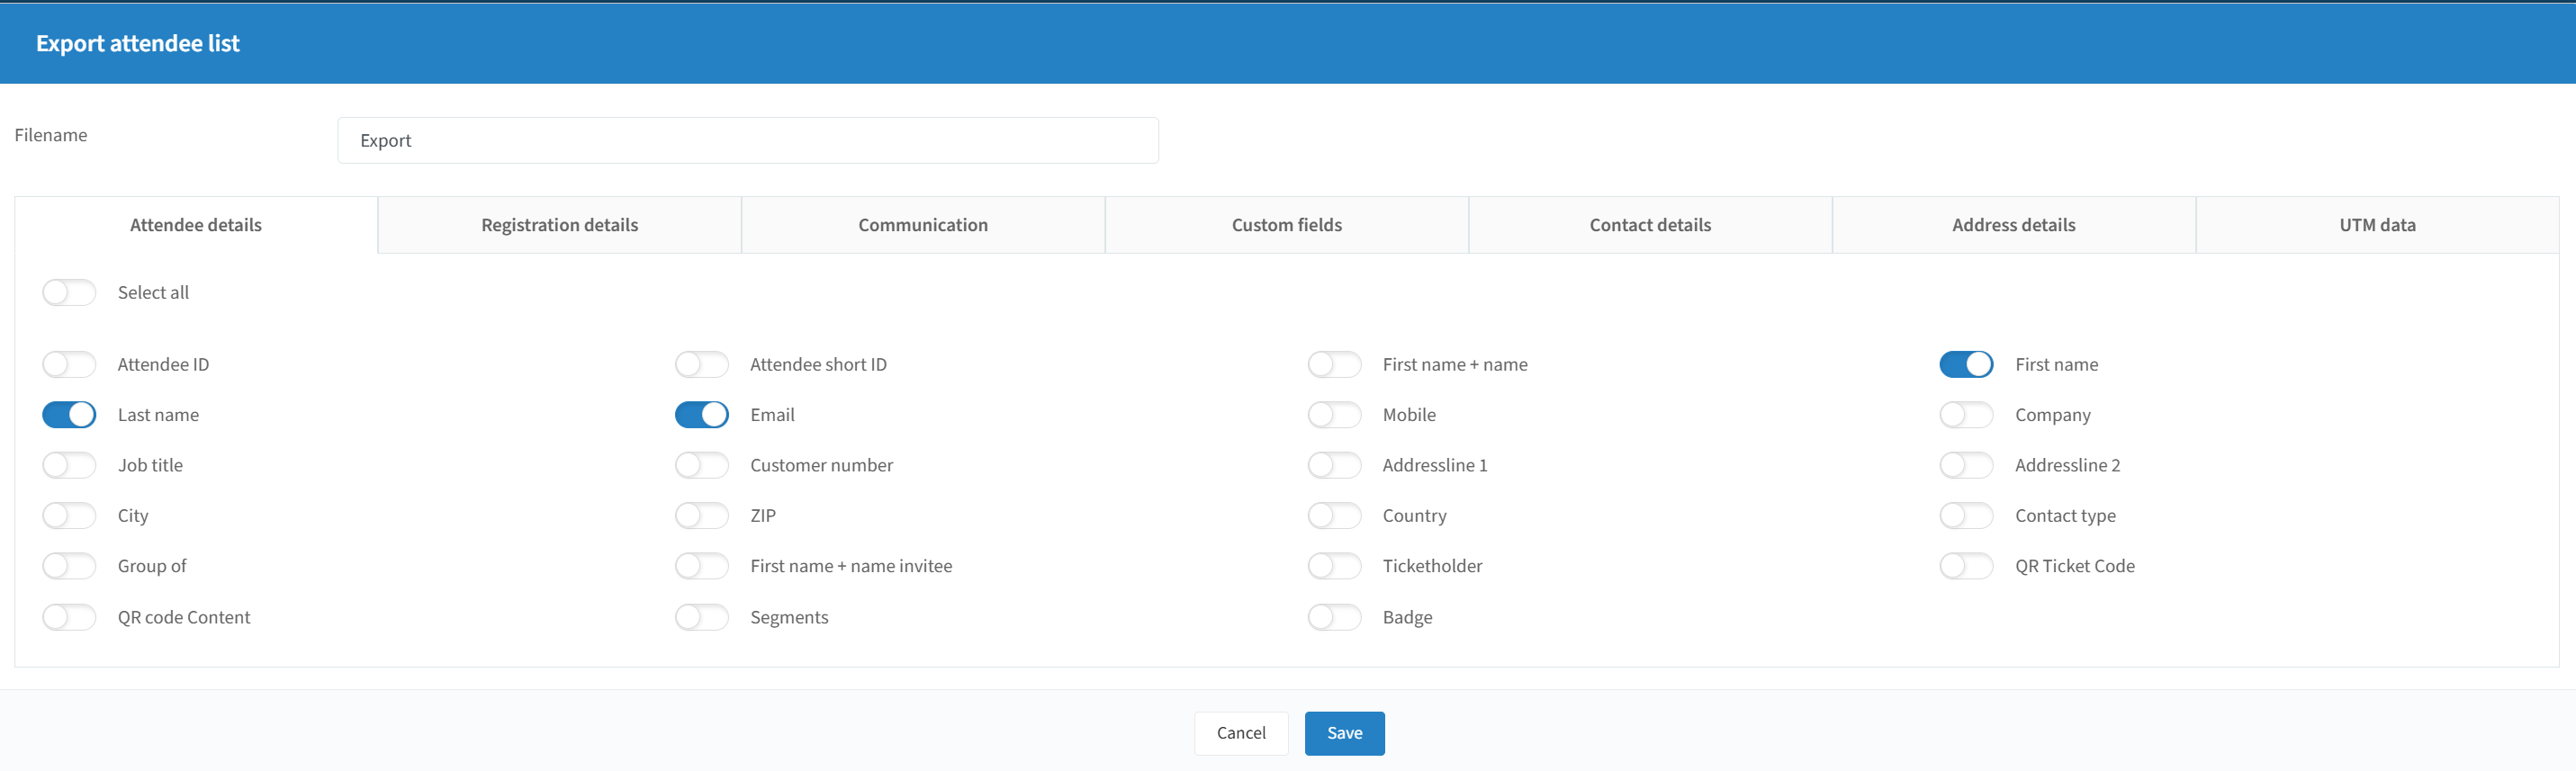
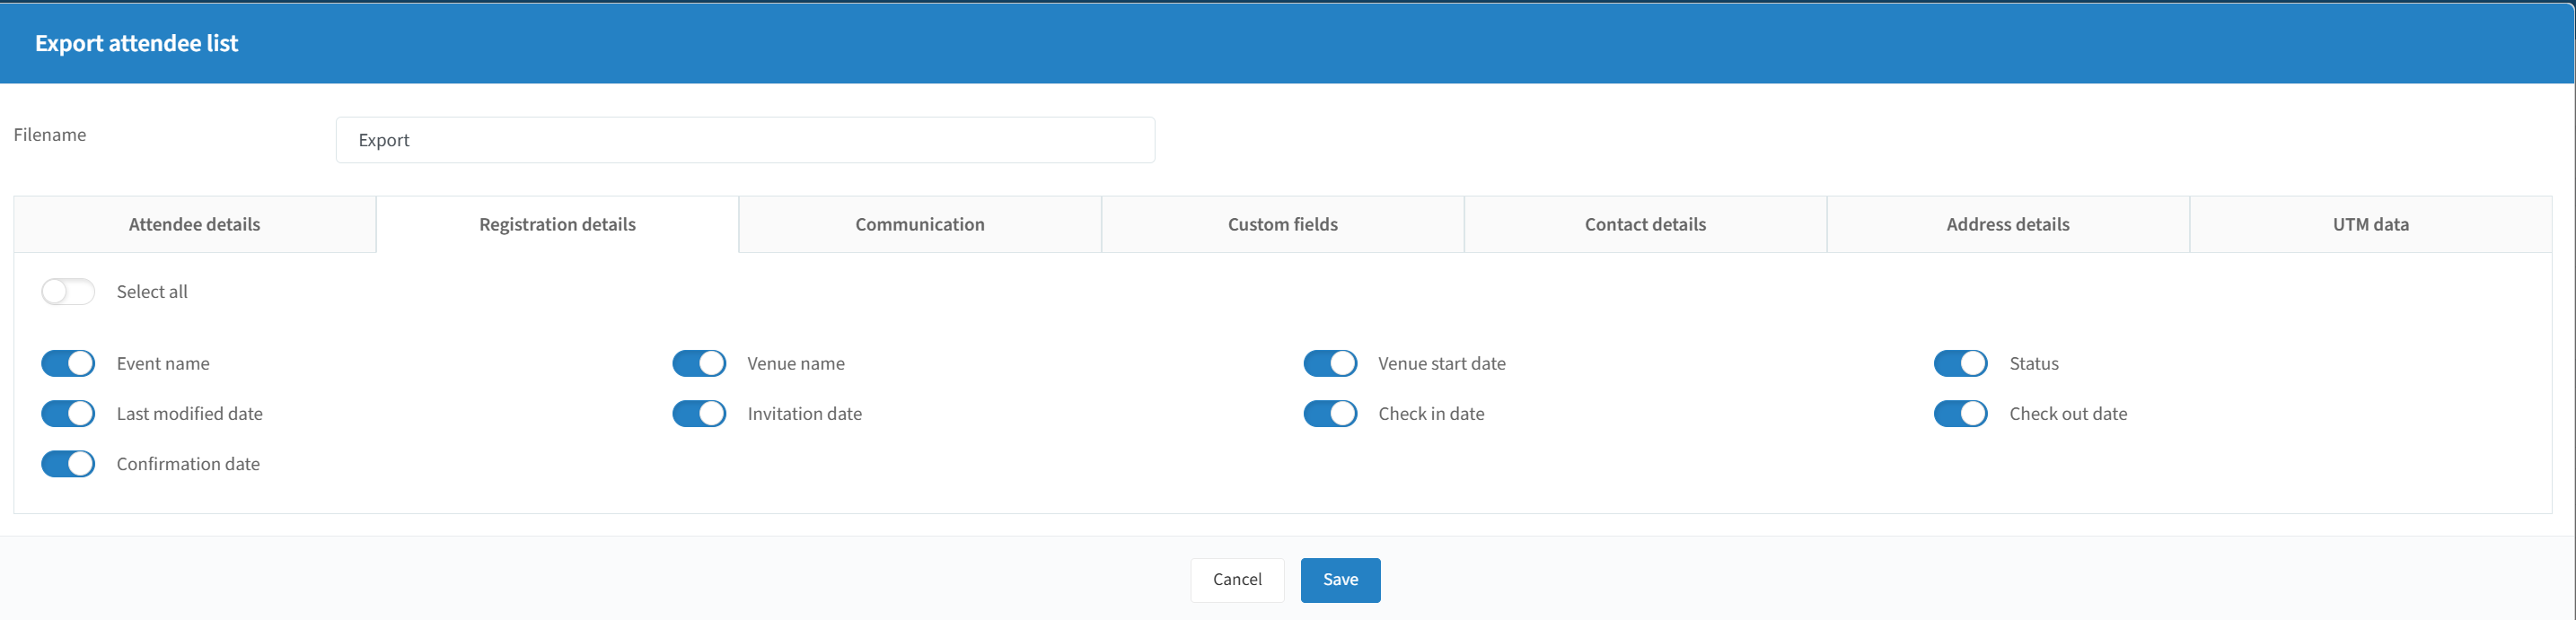
Choose the data you want by navigating the several tabs, and click "Save" to generate your Excel file. This file will automatically be saved in the File center (see "File center" on the Reports page).
Tip: if you also want your contacts' answers to specific questions you asked on the registration page, activate the sliders of these questions under the tab "Registration details".