
Integrations
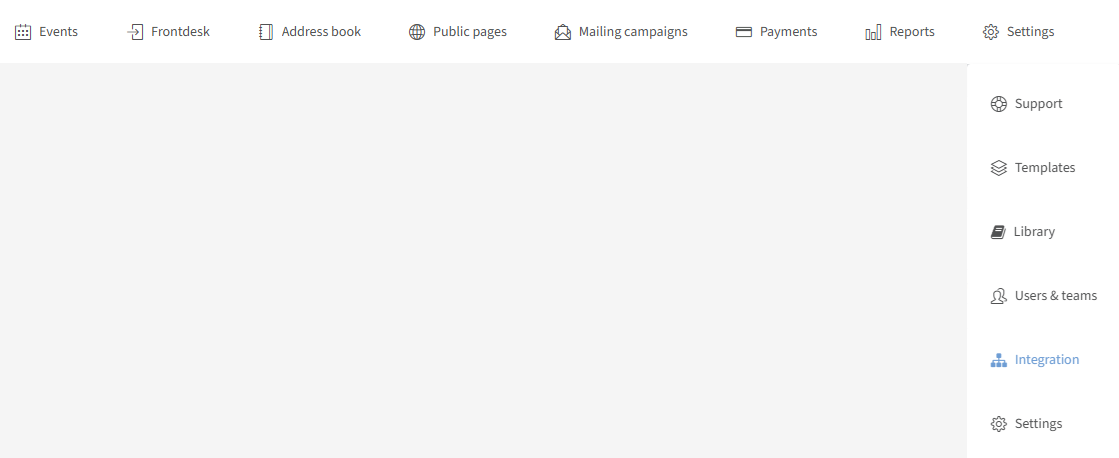
Set up a connection with, for example, your CRM. With InviteDesk we provide many integration possibilities. You can find the integrations on the top bar in the dropdown menu of the "Settings" tab:
On this page:
Configure integration setup
Azure Active Directory
Setup Single Sign On
With SSO, a user only has to enter their login credentials (username and password) one time on a single page to access all of their SaaS applications. Below we will explain the steps on how to activate this in InviteDesk:
Go to https://app.invitedesk.com and click "Log in with work account". Provide your Microsoft credentials, if asked.
Provide consent.
After steps 1 & 2, the InviteDesk app should appear as Enterprise Application in your Azure Active Directory settings. To verify, go to the Azure portal, Azure Active Directory, and click Enterprise Applications.
Select the InviteDesk app.
Click Provisioning, Get Started.
Change the Provision Mode dropdown to Automatic.
You should see a form where you will be asked to fill in a tenant URL and a secret token. In the tenant URL, copy and paste https://aadprovisioning.invitedesk.com/scim. To obtain a secret token, follow the steps below.
Log in to the InviteDesk Dashboard, as an administrator, using your email and password account (not SSO).
In the InviteDesk Dashboard, go to Integration > Azure Active Directory. You should see a form where you will be asked to fill in a tenant-id.
In your Azure portal, go to your Active Directory, copy your tenant-id and paste it into the InviteDesk Tenant identifier (step 9).
Check "I want to import my users from active directory". This will generate a secret token. You will be asked to copy this token to your clipboard. Choose how you would like to assign user profiles to your newly imported users and press save to close the dialog.
Copy the token (step 11) and go back to the Azure portal (step 7) and paste the value into the token input field.
Click "Test connection". The connection should now succeed.
Fielddrive
Add a Fielddrive connection (paid feature)
With this connection, you can print badges at the check-in desk of your live event. InviteDesk also has a simple badge printing feature that you can use without setting up a connection with an external partner (see "Create & print a badge" on the Library page).
To start the setup, you can click on "Add connection" in the integration section:
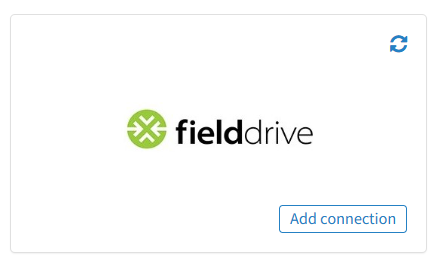
When the connection has been set up, you will see the following:

Please contact your contact at InviteDesk for more details.
HubSpot
InviteDesk Plug & Play connector for HubSpot (paid feature)

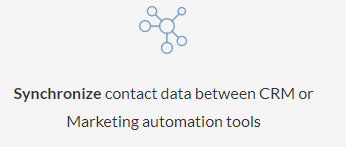
We make fast-track integrations possible with your CRM or Marketing Automation software. For this, we provide out-of-the-box connectors to support a fast setup and deployment with data synchronisation with some of the leading CRM and Marketing Automation technologies. You can connect with them effortlessly and use the data to create event success. A quick summary:
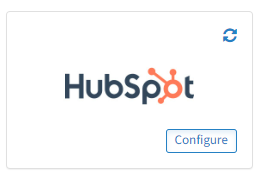
To start the setup, you can click on "Configure" in the integration section:
When the connection has been set up, you will see the following:

Please contact your contact at InviteDesk for more details and to arrange a meeting where we will do the initial setup together.
Tip: for most leading marketing automation tools and CRM systems, we provide an easy-to-set-up connector that requires no programming so you are up and running in no time integrating with our events software. Next to these Plug & Play connectors, we provide an open API so you can integrate with other platforms the way you want. Check out the InviteDesk Documentation Page for developers in case you want to learn more about our API or webhooks.
Microsoft Dynamics 365
InviteDesk Plug & Play connector for Microsoft Dynamics 365 (paid feature)

We make fast-track integrations possible with your CRM or Marketing Automation software. For this, we provide out-of-the-box connectors to support a fast setup and deployment with data synchronisation with some of the leading CRM and Marketing Automation technologies. You can connect with them effortlessly and use the data to create event success. A quick summary:
To start the setup, you can click on "Configure" in the integration section:
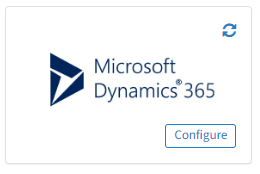
When the connection has been set up, you will see the following:

Please contact your contact at InviteDesk for more details and to arrange a meeting where we will do the initial setup together.
Tip: for most leading marketing automation tools and CRM systems, we provide an easy-to-set-up connector that requires no programming so you are up and running in no time integrating with our events software. Next to these Plug & Play connectors, we provide an open API so you can integrate with other platforms the way you want. Check out the InviteDesk Documentation Page for developers in case you want to learn more about our API or webhooks.
Salesforce
InviteDesk Plug & Play connector for Salesforce (paid feature)

We make fast-track integrations possible with your CRM or Marketing Automation software. For this, we provide out-of-the-box connectors to support a fast setup and deployment with data synchronisation with some of the leading CRM and Marketing Automation technologies. You can connect with them effortlessly and use the data to create event success. A quick summary:
To start the setup, you can click on "Configure" in the integration section:
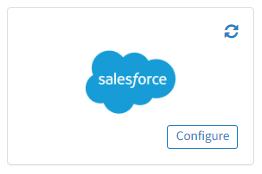
When the connection has been set up, you will see the following:

Please contact your contact at InviteDesk for more details and to arrange a meeting where we will do the initial setup together.
Tip: for most leading marketing automation tools and CRM systems, we provide an easy-to-set-up connector that requires no programming so you are up and running in no time integrating with our events software. Next to these Plug & Play connectors, we provide an open API so you can integrate with other platforms the way you want. Check out the InviteDesk Documentation Page for developers in case you want to learn more about our API or webhooks.
Stripe
Add a Stripe connection (paid feature)

With this connection, you can turn your event into a paid event (see "Paid event" on the Create an event page).
To start the setup, you can click on "Add connection" in the integration section:
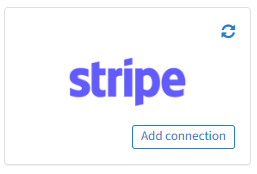
When the connection has been set up, you will see the following:

Please contact your contact at InviteDesk for more details.
Zoom
Add a Zoom connection (paid feature)

With this connection, you can use Zoom for your online venues (see "Venue - Online" on the Create an event page).
Setting up the Zoom integration
Step 1: Navigate to the Zoom Integrations tile
Log in to your InviteDesk account.
Go to the main dashboard.
In the left-hand menu, click on the Integrations section.
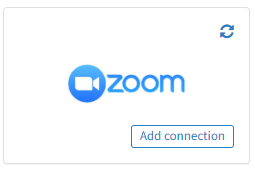
On the Integrations screen, the Zoom Integrations tile will be visible.
Step 2: Authorize InviteDesk
Locate the "Add connection" button on the Zoom Integrations tile.
You will be routed to the InviteDesk Zoom app page.
Click on the Login button to sign in to your Zoom account.
Grant InviteDesk the necessary authorization: review the requested permissions and click Allow to allow InviteDesk to access your Zoom account.
Step 3: Confirmation
Once authorization is complete, you will be redirected back to InviteDesk. You will see a confirmation because the green checkmark in the Zoom Integrations tile will be visible.

Removing the Zoom integration
Step 1: Navigate to the Zoom Integrations tile
Log in to your InviteDesk account.
Go to the main dashboard.
In the left-hand menu, click on the Integrations section.
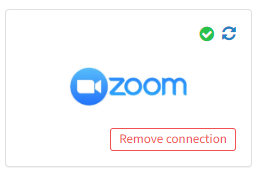
On the Integrations screen, the Zoom Integrations tile will be visible.
Step 2: Remove connection
Locate the "Remove Connection" button on the Zoom Integrations tile.
Click on the "Remove Connection" button.
Confirm the removal if prompted.
Step 3: Confirmation
You will see a confirmation because the green checkmark in the Zoom Integrations tile will no longer be visible.
