
Event communication
On this page:
Mails overview
Pre-defined e-mail templates
We have pre-defined some e-mail templates you can use in the communication of your event, according to the best practices in the market. Select the e-mail you want for your "Communication" when creating an event. You can adjust the default text for these text templates that appear when creating these e-mails (see "Scheduled e-mails" on the Templates page).
The following communication mails are available to use in your event: Save the date mail, Invitation mail, Reminder mail, Internal reminder mail, Confirmation mail, Pre-event mail, Thank you mail, Tickets mail, Write new email (Ad hoc), and Cancellation mail — each described in its own section below.
E-mail design
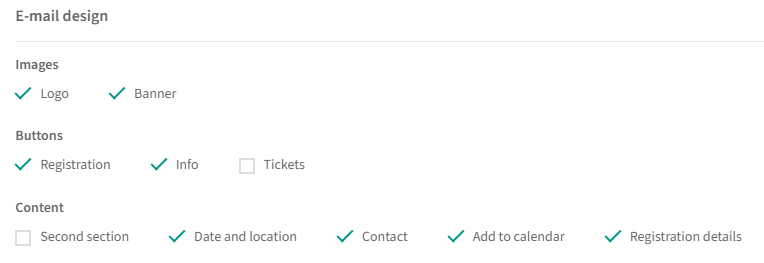
Each of the e-mails (except for the internal reminder) offers some additional design options. By default, the design section is closed. Click the "^" icon to open the design section. Depending on the e-mail type you are creating, you will see different options you can select (to show) or unselect (to hide). An example below:
E-mail content
Fill in the subject and add/edit content in the editor. Personalize the content of the e-mail using the variables — use this icon to add them:
Dynamic content (paid feature)
With dynamic content, you can easily target specific segments/venues in your different emails. You only need to make 1 email but you add different content blocks in which you define which content should be visible to specific segments/venues (see the Paid features page).
Tips:
Keep the design in the e-mail simple for optimal readability and conversion.
If you communicate in multiple languages, make sure to write the copy in all the languages.
When using variables, make sure to collect the info you need to correctly fill in those variables in your e-mail body. For instance: if you do not ask for the name of the extra guests on the registration form and you send an e-mail to all attendees in which you used #lastname, the extra guests will not see their names.
E-mail attachments
In most of the mails you will be able to add attachments — see "File formats to use" on the Tips & Tricks page.
Testing your e-mail
When creating an e-mail, you can send a test e-mail using the top left "Send test mail" functionality. The e-mails will be sent in the language you are editing to the InviteDesk users you select.

Tip: the test e-mail helps you check how the e-mail would look for your audience — it is not a fully functional test mail (e.g. you will not be able to go to the registration page). It's mainly intended for the look & feel, and can only be sent to users in the system. If you want to test a functional mail, add yourself to the invitation list and send yourself a specific mail.
Managing your communication flow
Once your event is published, you have a button top right to either pause or restart all communications with just one click:
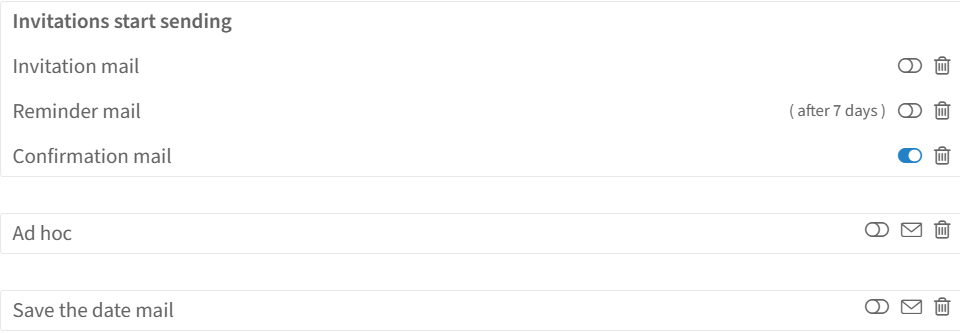
For each e-mail or page that you have created, you can set it to either "active" or "inactive" using the sliders. This is useful if, for example, you have not yet entered the texts in all languages and want to avoid the e-mail getting sent automatically.
Save the date mail
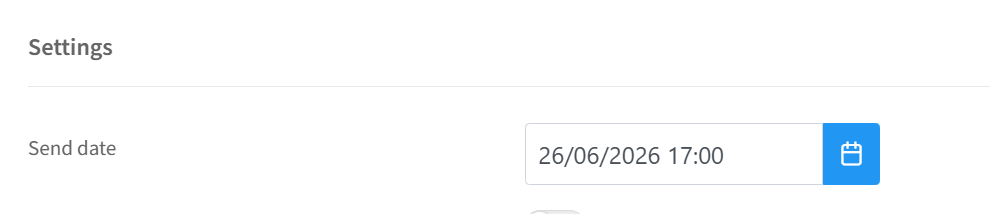
The Save the date mail will be sent to all contacts that you have added to your invitee list who have the status "Waiting", meaning the invitee has not yet received an invitation e-mail. You can select a date when you want this mail to be sent. If you don't fill in a send date, the save the date mail will be in "draft" in your communication timeline.
Invitation mail
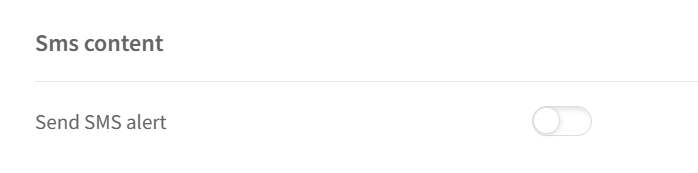
SMS content: in the invitation mail (and also in the Reminder, Pre-event and Tickets mails) you get the option to additionally notify your guests via SMS. This is a paid feature — contact InviteDesk if you would like to have this available.
With our system, you have more functionality than with traditional mailing tools. You can control whether invitations are sent "all at once" or "one-by-one":
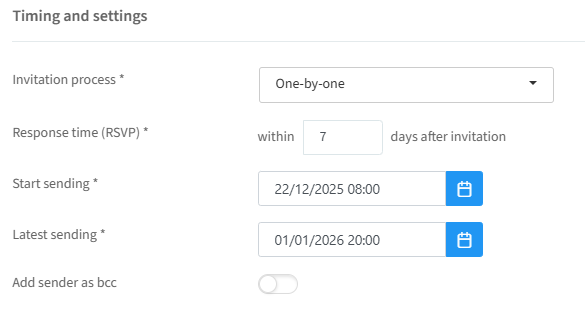
All-at-once: everyone on your invitation list receives an invitation at the same time, as long as there are available places.
One-by-one: the system ensures that you never invite more people than there are places available. Invitations are sent starting with the first person on your invitation list; once all available places are filled, the system stops sending invitations. If an invitee declines or an invitation expires, the next person on the list automatically receives an invitation.
Response time (RSVP): defines how long an invitation is valid — effectively an expiration date. For example, if the response time is 7 days after the invitation is sent, the invitee can no longer register from the 8th day.
Start and Latest sending date: define the period during which invitation emails are sent automatically. Invitees added before the start date receive their invitation on the start date; invitees added between the start and latest sending date automatically receive their invitation within 15 to 30 minutes, as long as places are available.
Add sender as bcc: if enabled, a blind copy (bcc) of each invitation is sent to the sender specified in the Communication setup.
Tip: as long as the registration page is open and places are still available, you can manually send individual invitation emails outside of the automatic sending period, both before and after, for maximum flexibility.
Reminder mail
Setting up the reminder mail is a very simple process. You have already created an invitation email, and with one click on the button "Clone data from invitation mail" you can copy the entire content. After a few minor adjustments, your reminder mail is ready.
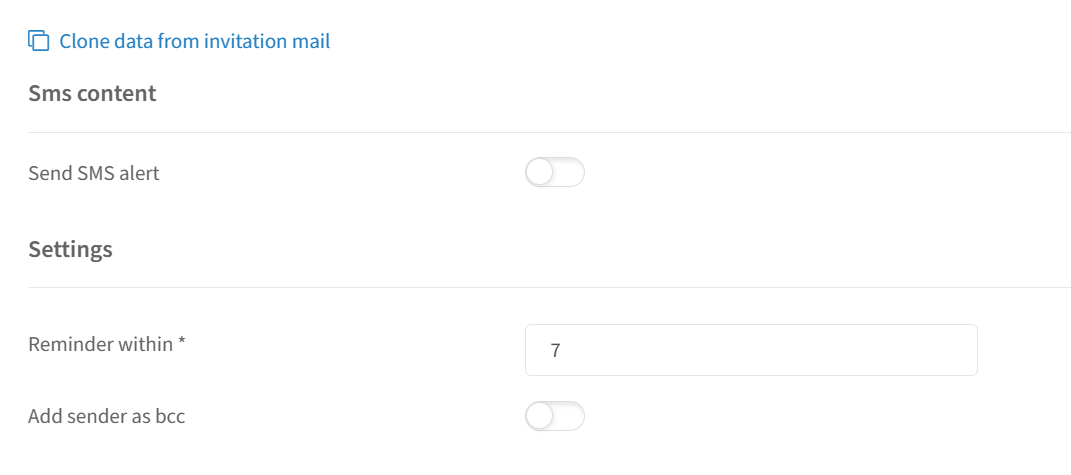
SMS content: as with the Invitation and Tickets mails, you can additionally notify guests via SMS (paid feature).
Reminder within: since invitations can be sent to different guests at different times, reminders are sent intelligently — the system calculates the reminder based on when each invitation was sent and adds the specified number of days. This includes all kinds of days: work days, weekends, holidays, etc. The first day counted is the day after the invitation mail was sent.
Each guest receives the reminder at the correct time.
Guests who have already registered or declined will not receive a reminder.
No reminders are sent once the registration period has ended or all available places have been taken.
Add sender as bcc: if enabled, a blind copy goes to the sender specified in the Communication setup.
Internal reminder mail
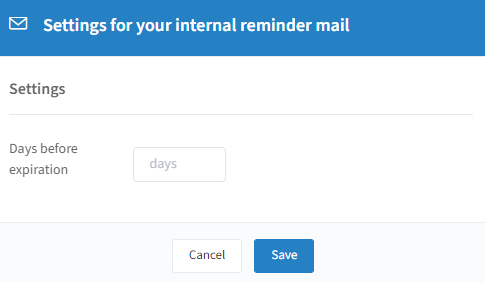
The internal reminder mail sends a warning to the ticket holder to inform them which customer's invitation expires in x days and who has not yet responded (see the Ticket holders page).
Confirmation mail
Everyone would of course like to be sure that they are properly registered. The confirmation mail is sent immediately once the invitee has registered.
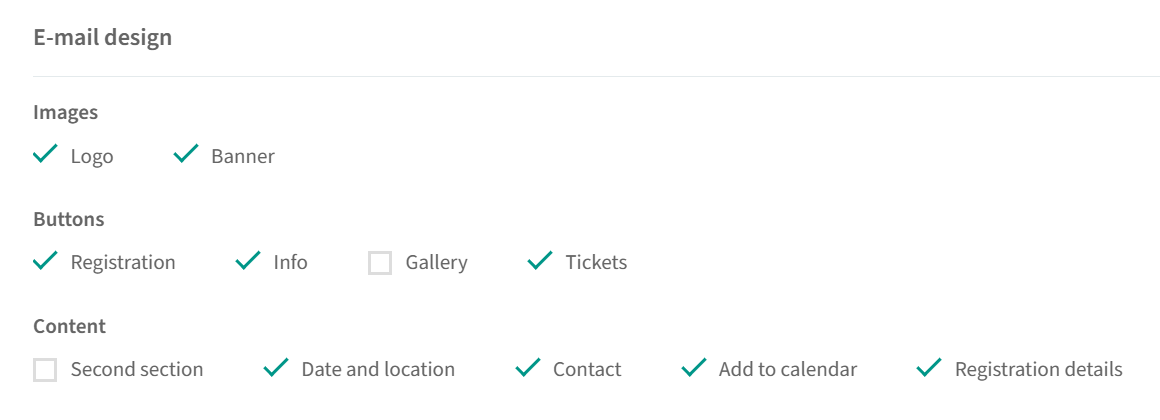
Email buttons: in the Email design section you can add various buttons to your confirmation email; they appear after the email content. You can customize their design in the Design templates (Buttons section) — see the Templates page.
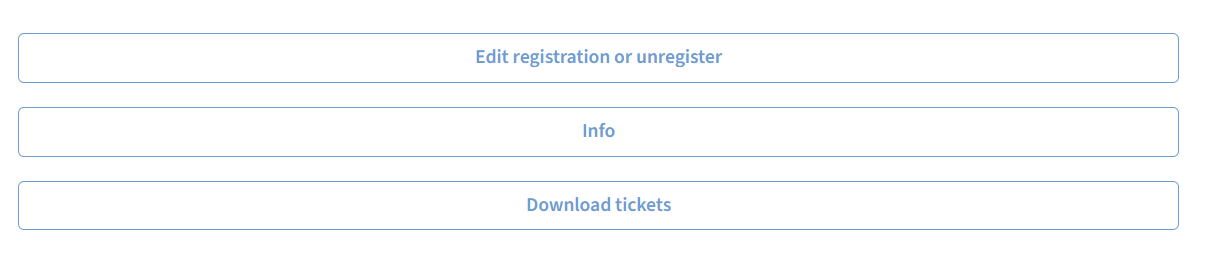
Edit registration: the main invitee can update their registration online as long as the registration page is open, using the "Edit or unregister" button included in the email by default. Extra guests cannot edit their registration. You can deactivate the "Registration" checkbox in your e-mail design.
Additional information pages: if you created other pages besides the Registration page, you can add it as an extra button in your confirmation mail in the Email design (see "Additional pages/tabs" on the Event website page).
Tickets: if your event includes tickets, they can be sent immediately with the confirmation mail — activate the "Tickets" checkbox in your e-mail design.
Add to calendar: this button allows invitees to download an .ics file to add the event to their personal calendar, which helps reduce no-shows.
Registration details: if you asked additional questions on the registration page, attendees can see their answers in a separate section of the confirmation mail. This feature is also available in the Pre-event mail and ad hoc mails.
Settings:
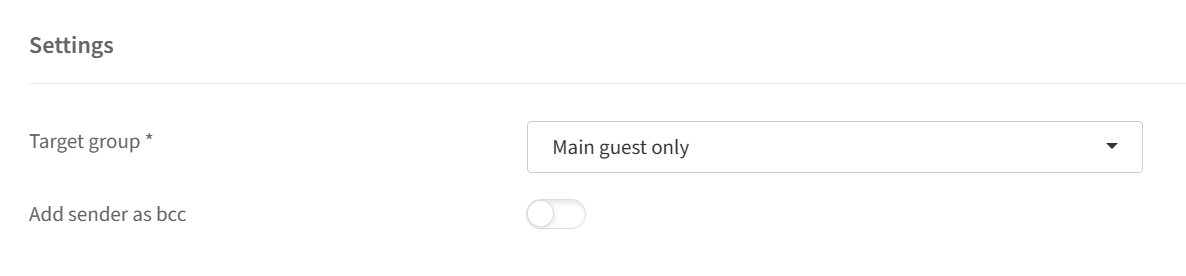
Target group: choose whether the confirmation mail goes to the main guest only, or all guests. If extra guests receive the mail, a message at the top indicates they were included because the main guest registered them.
Tip: extra guests can unsubscribe, but this only affects emails for this specific event. If someone unsubscribes by mistake, you can reverse it: click the "i" icon next to their name on the attendee list and re-activate the "Mailing" slider.
Add sender as bcc: if enabled, a blind copy goes to the sender specified in the Communication setup.
Pre-event mail
Keep your event "top of mind" for your invitees and send them an e-mail a few days before the event. Many customers have confirmed that since they systematically send this email, they have fewer "no-shows" — and if some guests are unable to attend, they can at least notify the organization.
Email design: you can include the same handy features, like buttons, that were available for your confirmation mail.
SMS content: as with the Invitation, Reminder and Tickets mails, you can additionally notify guests via SMS (paid feature).
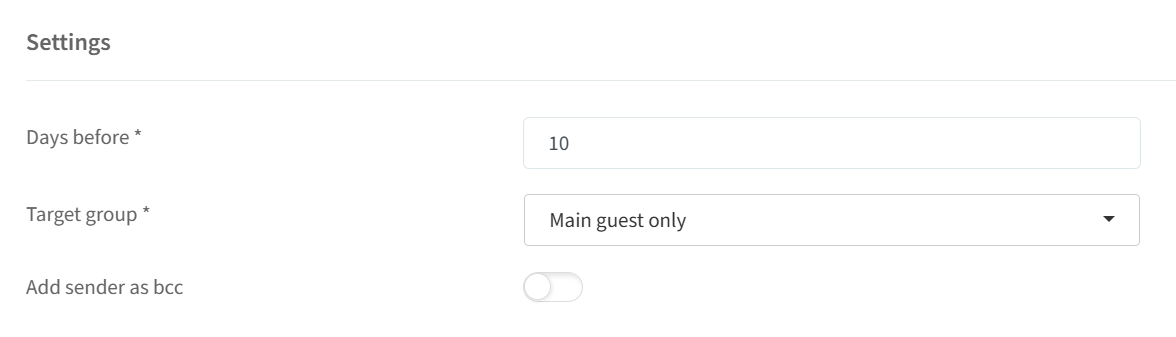
Days before: this email is sent automatically x days before the event start date for which the invitee was registered. Tip: if you have multiple dates and/or locations, our system sends this mail before every venue to the right audience; in the timeline it appears only once, to keep the timeline clean and clear.
Target group: like the confirmation mail — main guest only, or all guests (with the same unsubscribe note and "Mailing" slider fix).
Add sender as bcc: if enabled, a blind copy goes to the sender specified in the Communication setup.
Thank you mail
Email design: you can include a survey button in your e-mail design if you have created an "Event satisfaction survey" for this event (see the Surveys section).
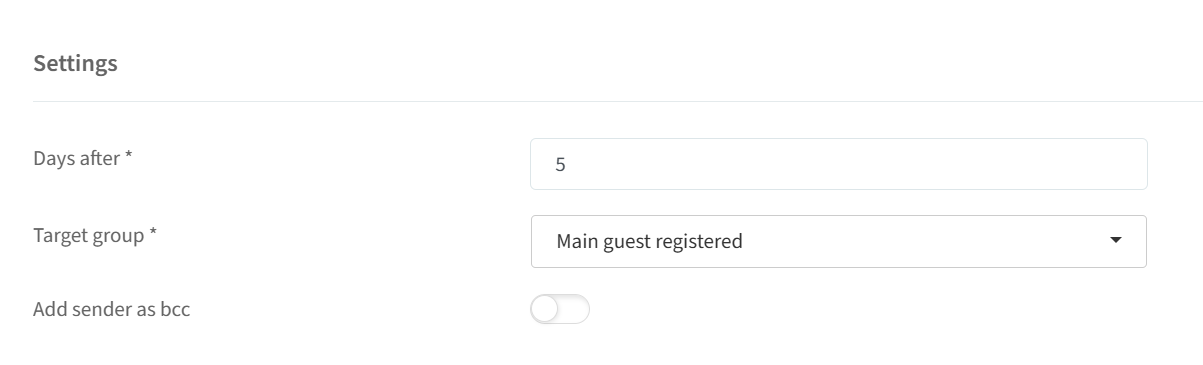
Days after: this email is sent automatically x days after the event end date for which the invitee was registered. If your scheduling setting in your company settings is set at 8am, the mails are sent x days after the event at 8am. Tip: with multiple dates/locations, the mail is sent after every venue to the right audience, appearing only once in the timeline.
Target groups: you can define 4 different target groups:
Registered main guest: every main guest who registered receives the thank-you email (including attendees with Checked-in or Checked-out status).
Main guest attended: only main guests who were checked in at the event receive the email.
All registered guests: all registered guests (main + extra guests), including Checked-in or Checked-out.
All guests attended: everyone who was checked in receives the email.
Add sender as bcc: if enabled, a blind copy goes to the sender specified in the Communication setup.
Tickets mail
InviteDesk allows you to send tickets, including PDF tickets from third parties, to all your invitees at once. The ticket e-mail contains a link to the tickets destined for the attendee. You send these e-mails in batch to everyone who is entitled to these tickets, or trigger the mails individually in the ticket list.
Tip: it's not mandatory to use the separate ticket email to send tickets. You can also include tickets in the confirmation mail or pre-event mail by activating the "Tickets" checkbox in your Email design.
Email design: you can include some of the handy features, like buttons, that were available for your confirmation mail.
SMS content: as with the Invitation, Reminder and Pre-event mails, you can additionally notify guests via SMS (paid feature).
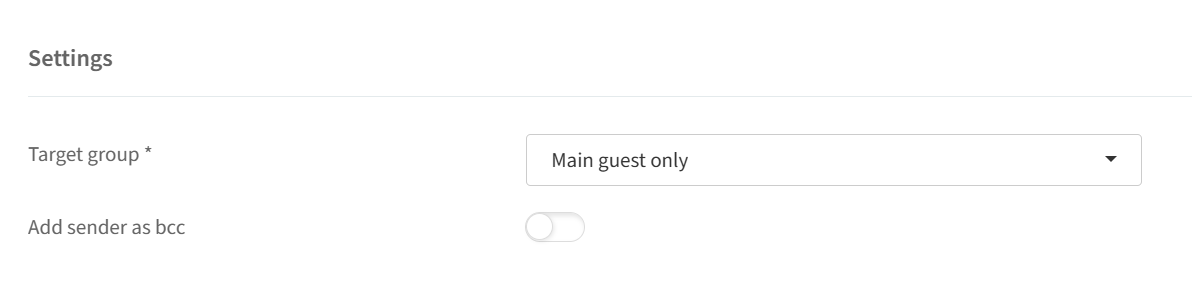
Target group: main guest only, or all guests (with the same unsubscribe note and "Mailing" slider fix as the confirmation mail).
Add sender as bcc: if enabled, a blind copy goes to the sender specified in the Communication setup.
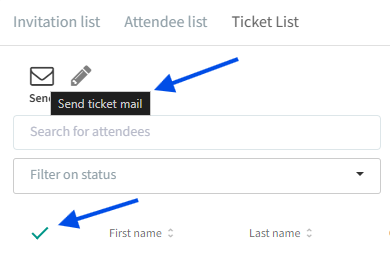
How to send a tickets mail: the tickets email is a special case in InviteDesk, since it cannot be scheduled for automatic sending — you can only send this email manually via the ticket list:
After you have created a tickets email in your event,
Go to the ticket list and select all guests or specific guests.
An envelope icon will then appear at the top of the list, allowing you to send the tickets email.
Write new email (Ad hoc)
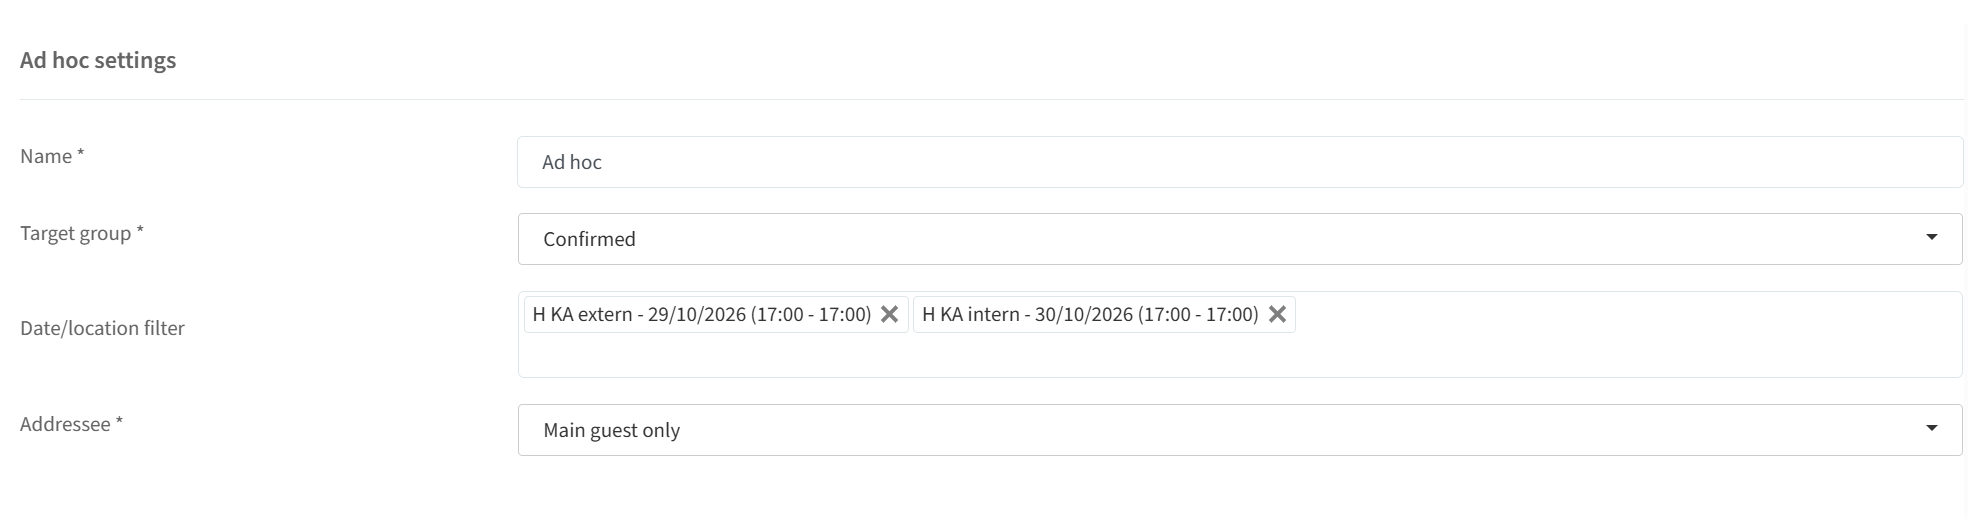
You always have the most up-to-date target group lists in InviteDesk ready to e-mail, either immediately or on a specific date. At the top of this page, you determine with the checkboxes which information you want to include in the e-mail — the available options vary per target group. You can also give this specific mail a name, which will appear in your communication timeline. Below is an example:
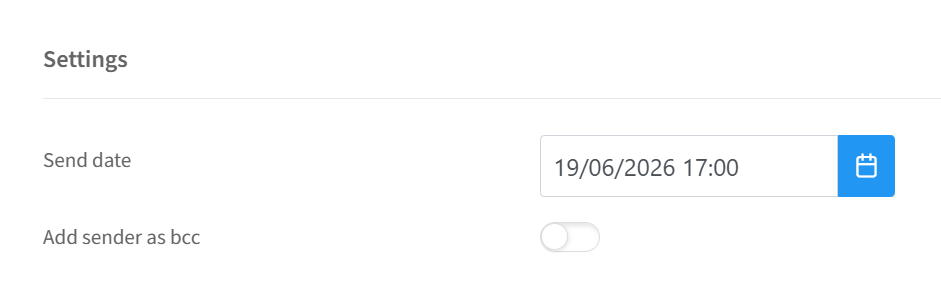
If you don't fill in a send date, this new email will be in "draft" in your communication timeline.
Tip: you will only see this type of mail become available as soon as you have "Published" the event in InviteDesk (no longer in draft mode).
Cancellation mail
In short: there is no cancellation mail.
You can set up a confirmation mail to be sent automatically when a guest registers for an event. But if an invitation gets canceled — either by a user in the backend or because the guest declines — there is no automatic email sent to confirm their cancellation.
When a guest declines, they are redirected to a landing page with a message you can customize in the Text Templates section (see the Templates page). When a user declines an invitation in the backend, the guest does not get notified.
In some cases, you might want to let a guest know that you canceled their invitation. The best way to do this is to create an ad hoc mail (see "Write new email (Ad hoc)" above) with 'canceled' guests as the target group. You can send this mail manually to the canceled guests by sorting the invitation list on this status, selecting all guests and clicking on 'Send mail', then choosing the ad hoc mail you created.